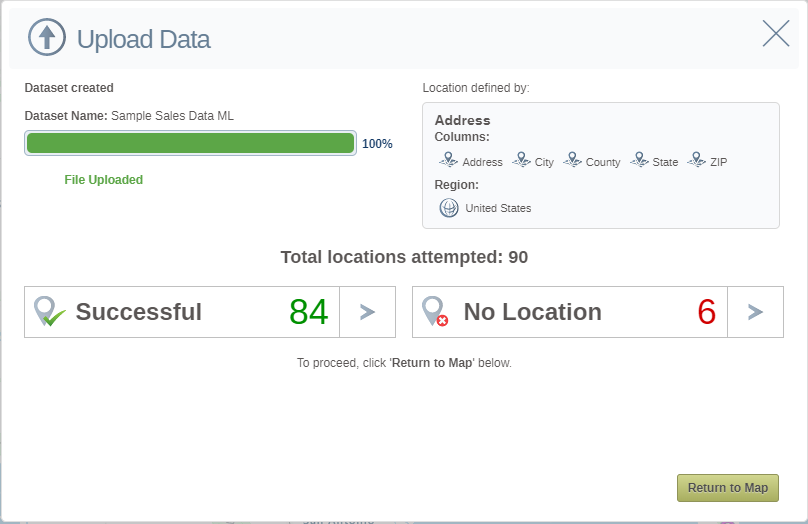
During the upload process there may be some locations that cannot be plotted. These will show up as No Locations at the end of the upload. This is usually due to missing or misspelled address data. Once the upload is complete these can be fixed from within the Map.
- Hover over the dataset name in the Control Panel and press the Cog icon. Then press the Manage Locations option.
- The Manage Locations table will open.
- Sort columns by clicking on the Sort button.
- Select all locations by clicking on the top box in the first column.
- Select individual locations by clicking in the box in the first column on that row.
- Delete selected locations by clicking on the Trashcan icon on the top of the table.
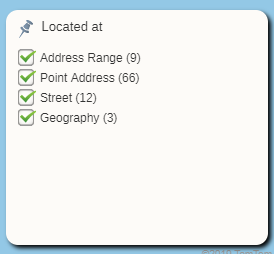
- The Located at filter will also open.
- Use this filter to select points that have been located at different levels. These will be displayed on the map and in the table. The location status options are
-
- No location: The address could not be located. Please check the details you have provided.
- POI: A business, landmark, or common place of interest.
- Street: Located to street level.
- Geography: Located to an administrative division.
- Point Address: Located to an address location.
- Address Range: Calculated on range between start and end of street.
- Cross Street: A point where two or more streets intersect.
Manage Locations
- Un-check all of the other filters leaving just No locations active. All No Location Points will be displayed in the table in red font.
- For points with No Location click on a row in the table and a point will be added to the center of the map. This is a temporary location to allow you to edit your data and move the point to its correct location.
- Edit the address data and the point will move to the correct location.
- To manually move the point on the map hover over it in edit mode and when the pointer changes to a cross, click and drag it to its new position. See Editing Data Points/Records for more information.
- Once you have the point in the correct location click on the Save button in the Information Box.
- Once you have all of the locations fixed click on the Close button to close the Manage Locations table and return to the map.