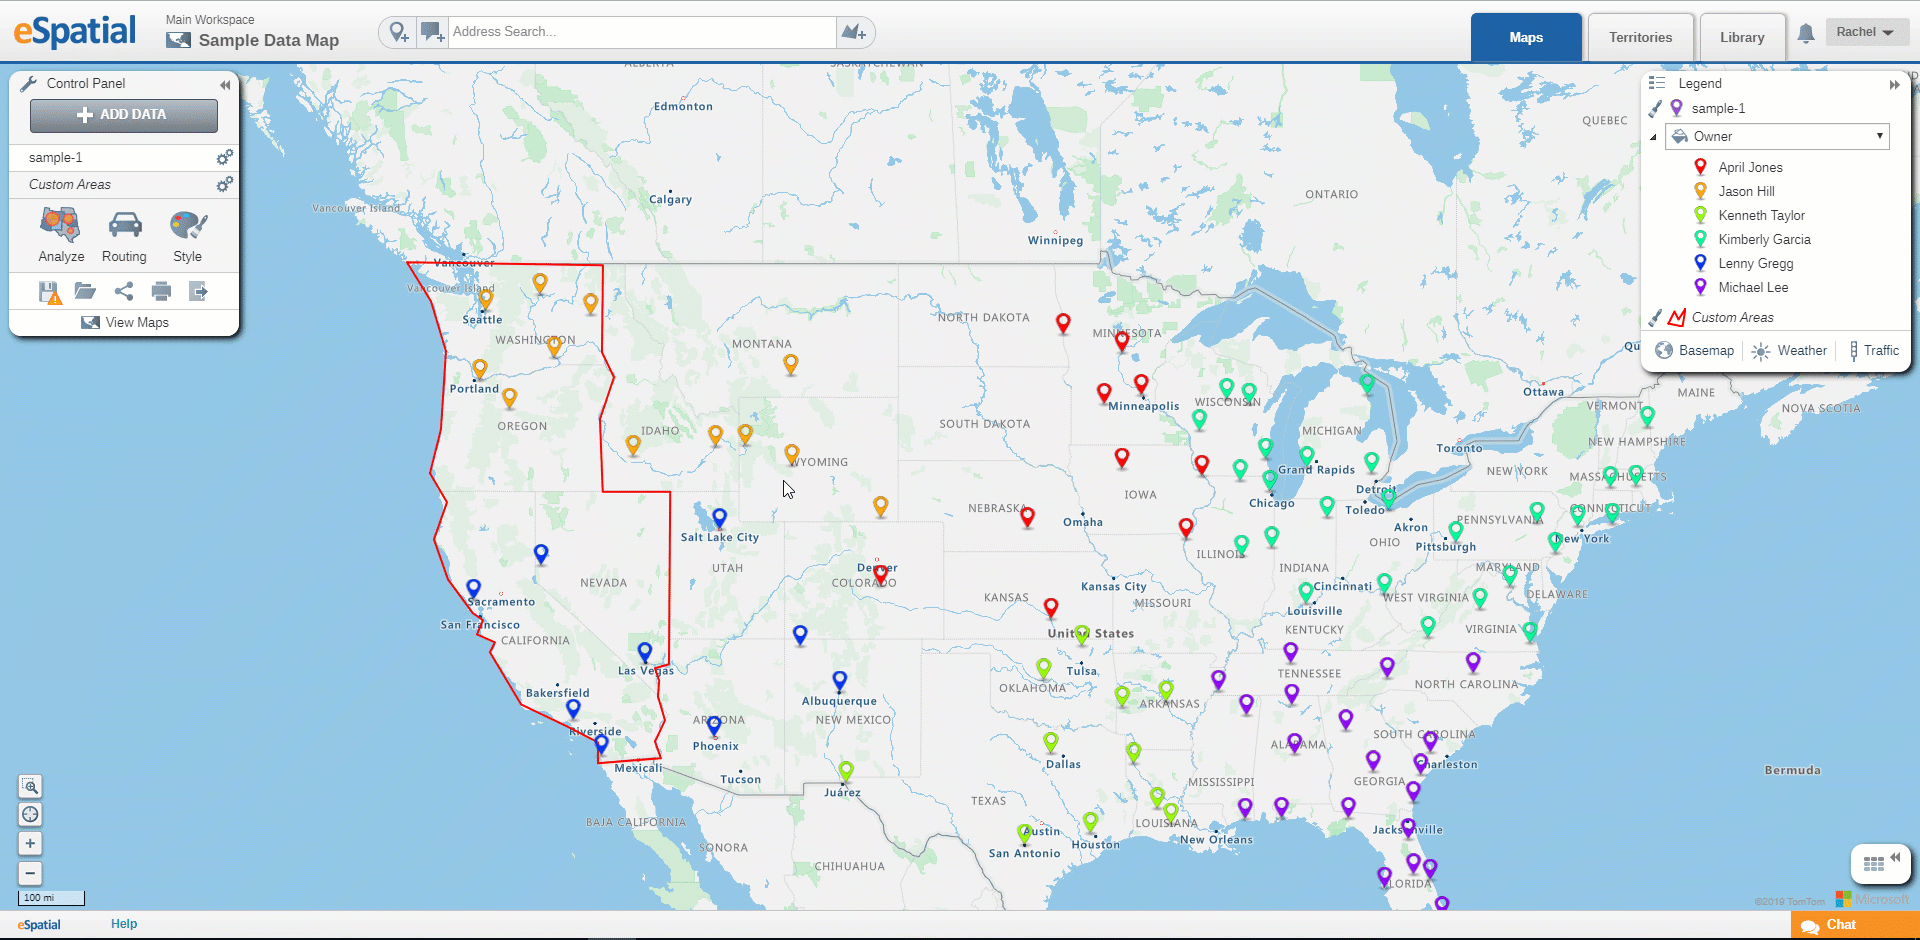
Users can edit the shape of their custom area or delete it if is no longer required.
Edit Polygon
To edit the shape of a custom area:
- Click on the polygon to open the info window and click on the pencil icon to enable editing.
- The polygon is made up of interconnected data points and these will now be visible as small red circles along the polygon lines.
- Dark red circles are displayed at points in the line where the mouse was clicked during drawing. Hover over a dark red circle and you will be given the following options – Drag to move or Right Click to delete.
- Pale red circles are displayed at the midpoint between the dark red circles. Hover over a pale red circle and you will be given the following option – Drag to move, this will create another waypoint in the polygon.
- Click on the Save icon to save your edits.
- Click on the X to close the Info Window.
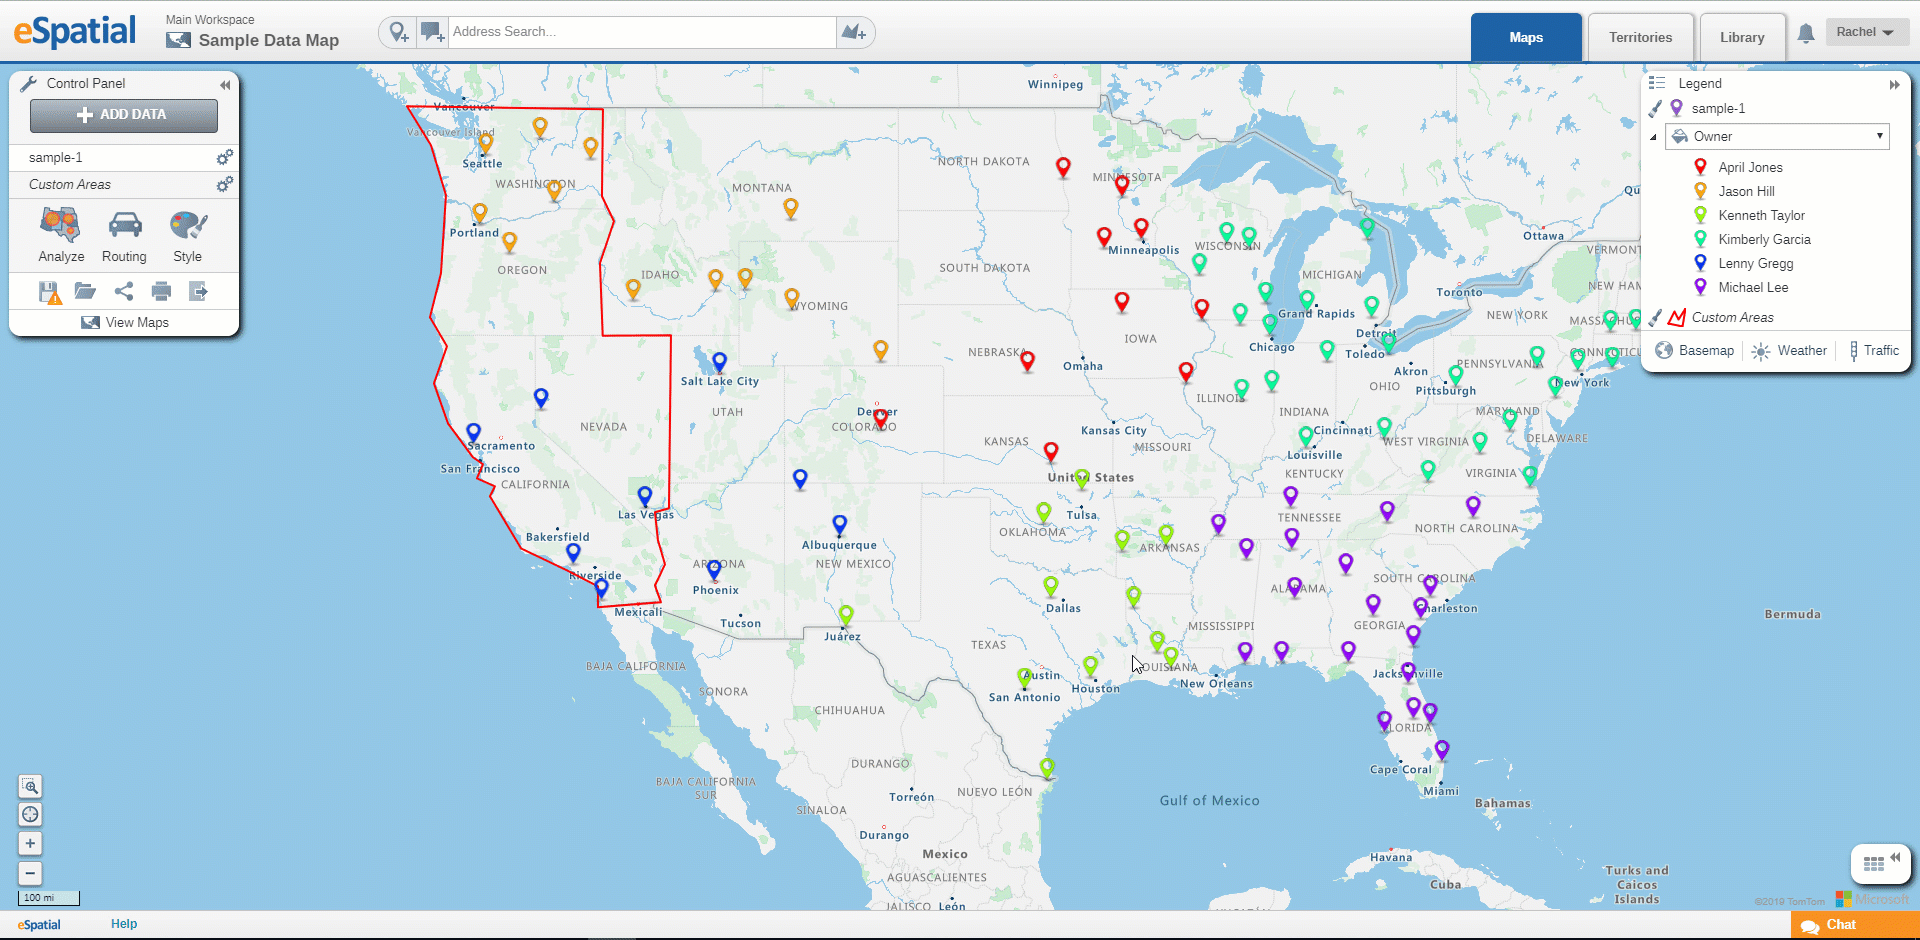
Deleting a Polygon
- Click on a polygon on the Map to open the Info window.
- Click on the Trashcan icon to delete the polygon. If you want to remove the entire dataset see Removing Datasets from your Map