The Territory Table
- Select the table from the Hamburger menu
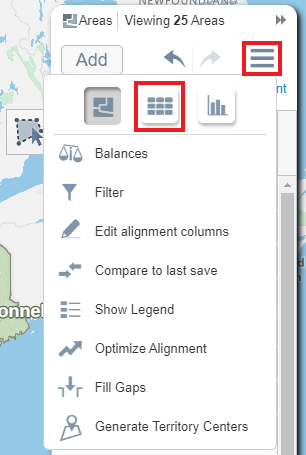
- Select the table for the dataset you wish to view using the table drop down menu

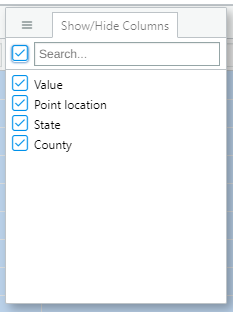
- To change the order in which columns are displayed, select the hamburger, deselect all checkboxes, and then re-select the checkboxes in the preferred order or you can click and drag the columns to your preferred order.

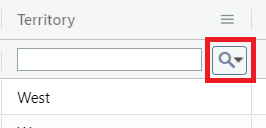
- To search the table, select the magnify icon in the column you wish to search on.
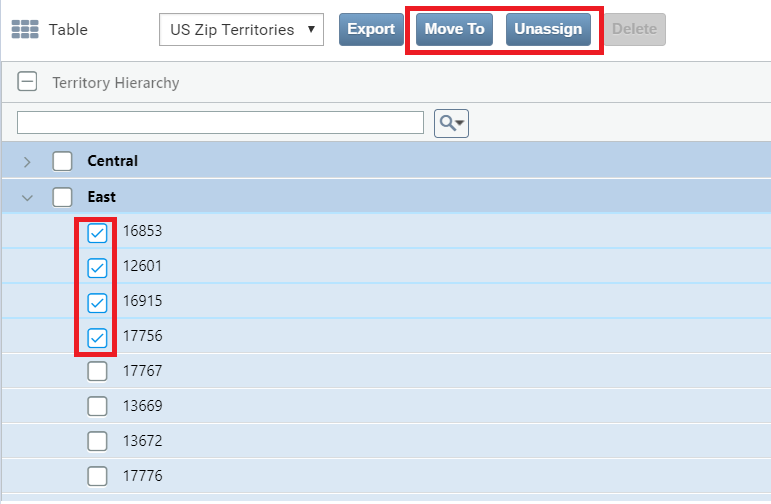
- To move areas to a territory, select the checkbox beside any area you wish to move, select Move To, and then choose the territory you wish to move it to.
- To unassign areas from a territory select the checkbox beside any area you wish to unassign, select Unassign, and then choose the territory you wish to unassign it from.
- To add exceptions from the table, select the checkbox beside each exception, select Add Exception, and choose the territory you want to assign this record to
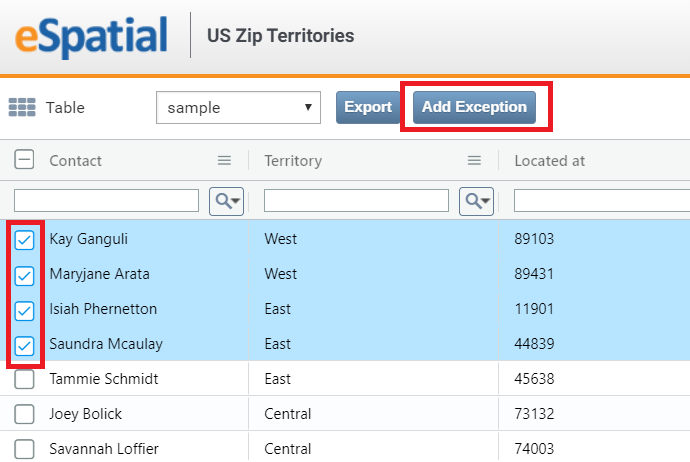
- To export the table to csv select the export button.

Account Based Territory Table
When you create a points/accounts-based territories. There are a few differences to be aware of. When you open the territory table it will default to the account's dataset.
The table will include additional columns that state the current territory alignment. These can be distinguished from your original columns used to identify territory owners as the columns used to create your territories will have the column name and then load value in brackets.

- To reassign accounts click on the tick box beside the account.
- Then select the reassign button.
- You will then be prompted to select which territory you wish to reassign the accounts to.

- To reassign or delete a territory navigate to the territory file in your table.
- Then select the box next to the territory you wish to reassign or delete.
- Select the delete button or the reassign button.

