In this article, we list the steps required to connect your eSpatial account with your corporate Ping Identity account.
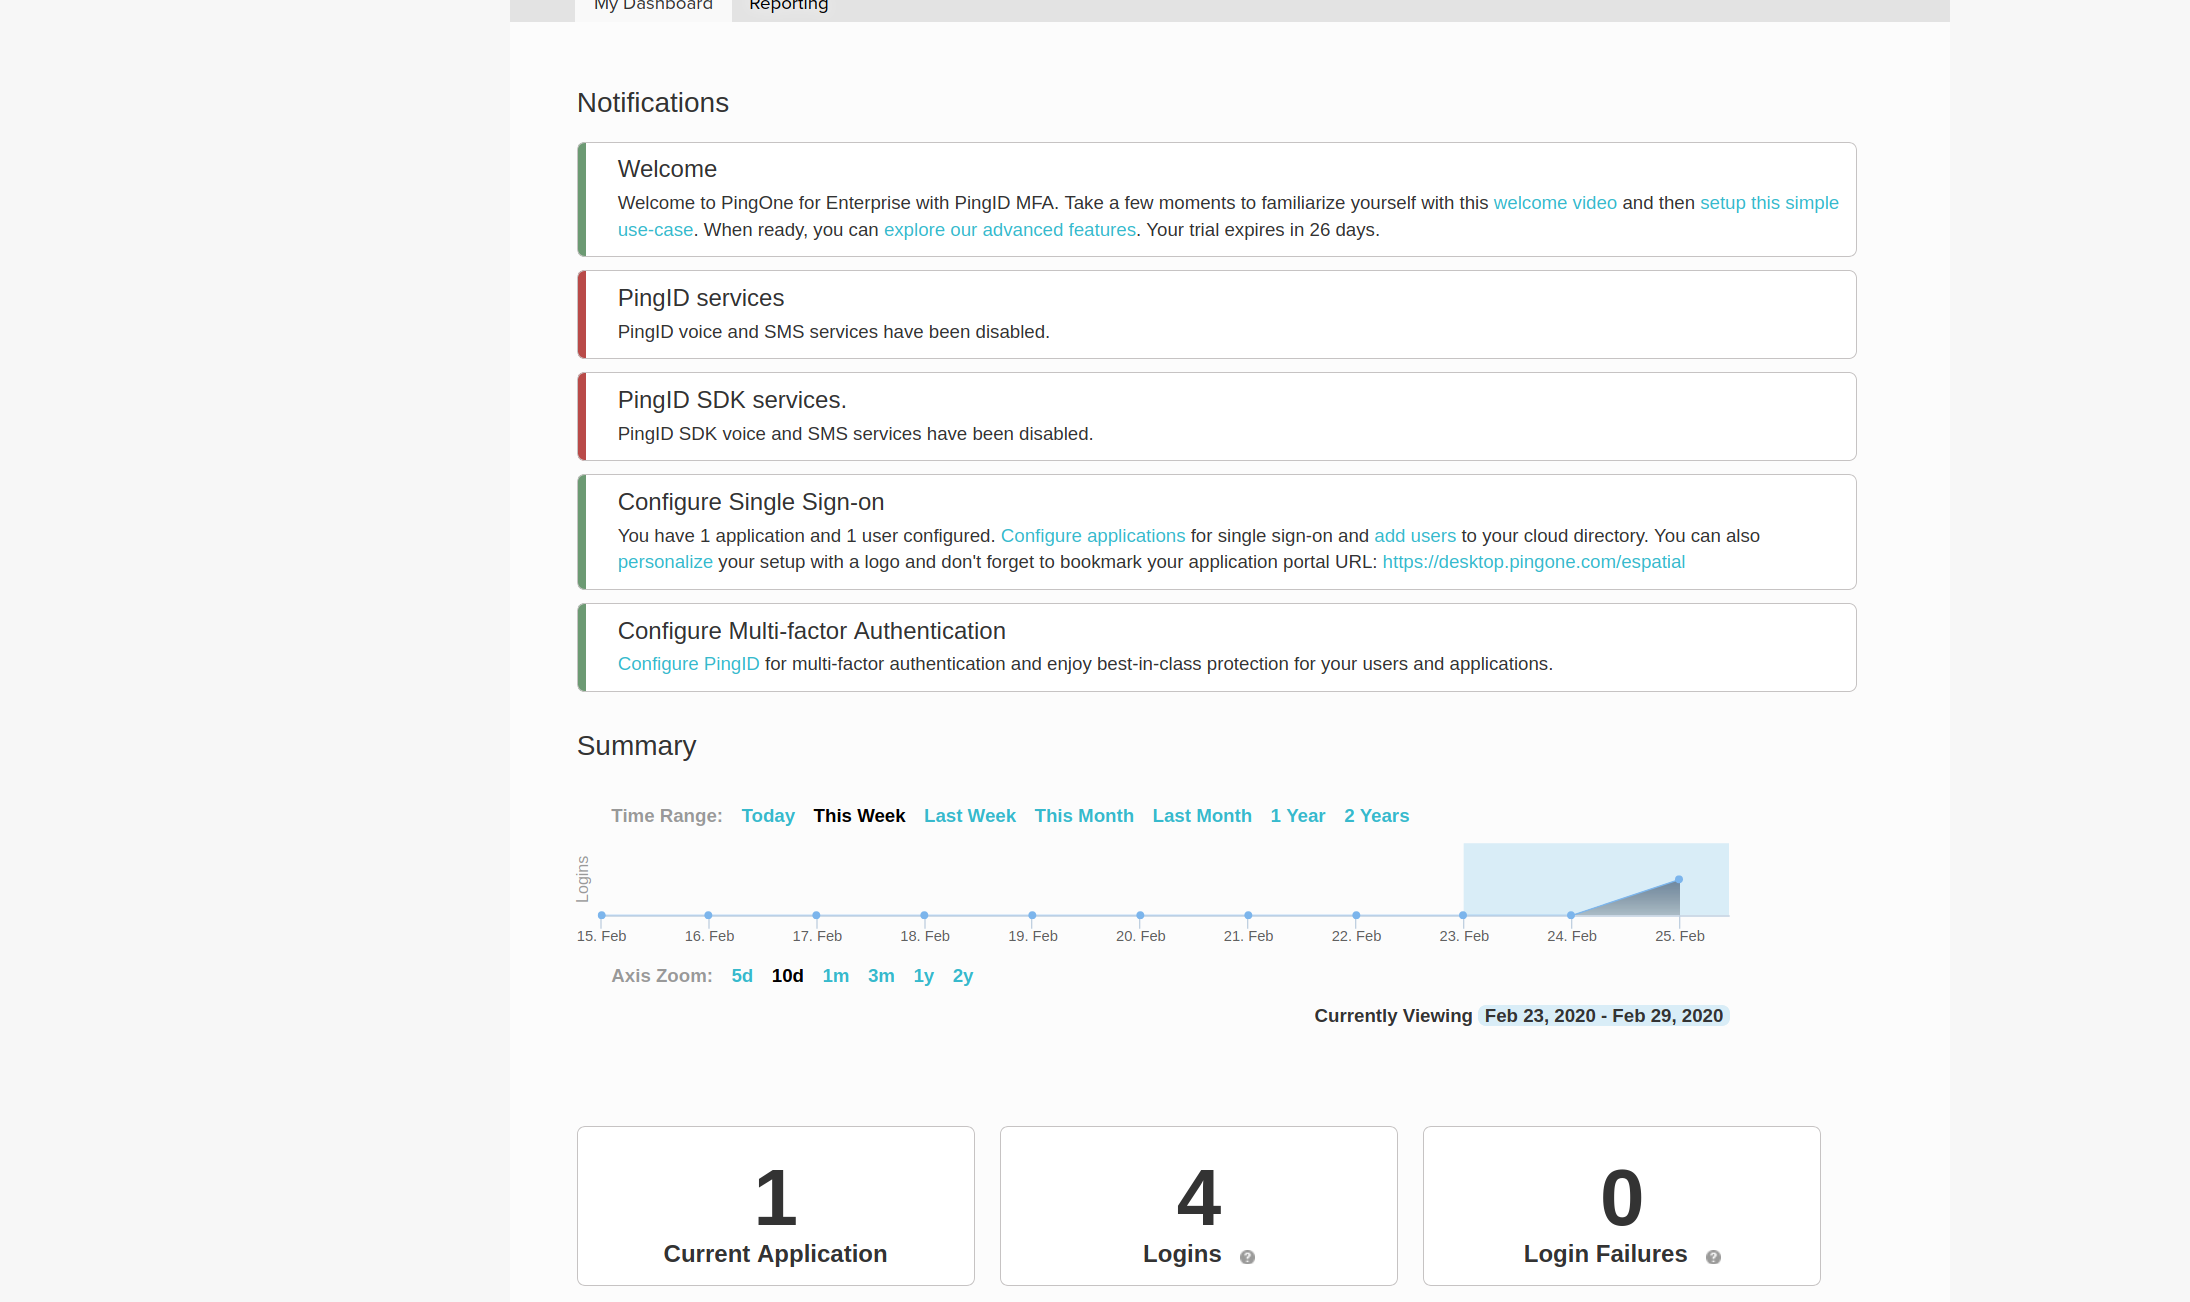
- Login to Ping Identity
- Select Configure application in configure Single Sign-On section
- In "My Applications" select "Add Application"
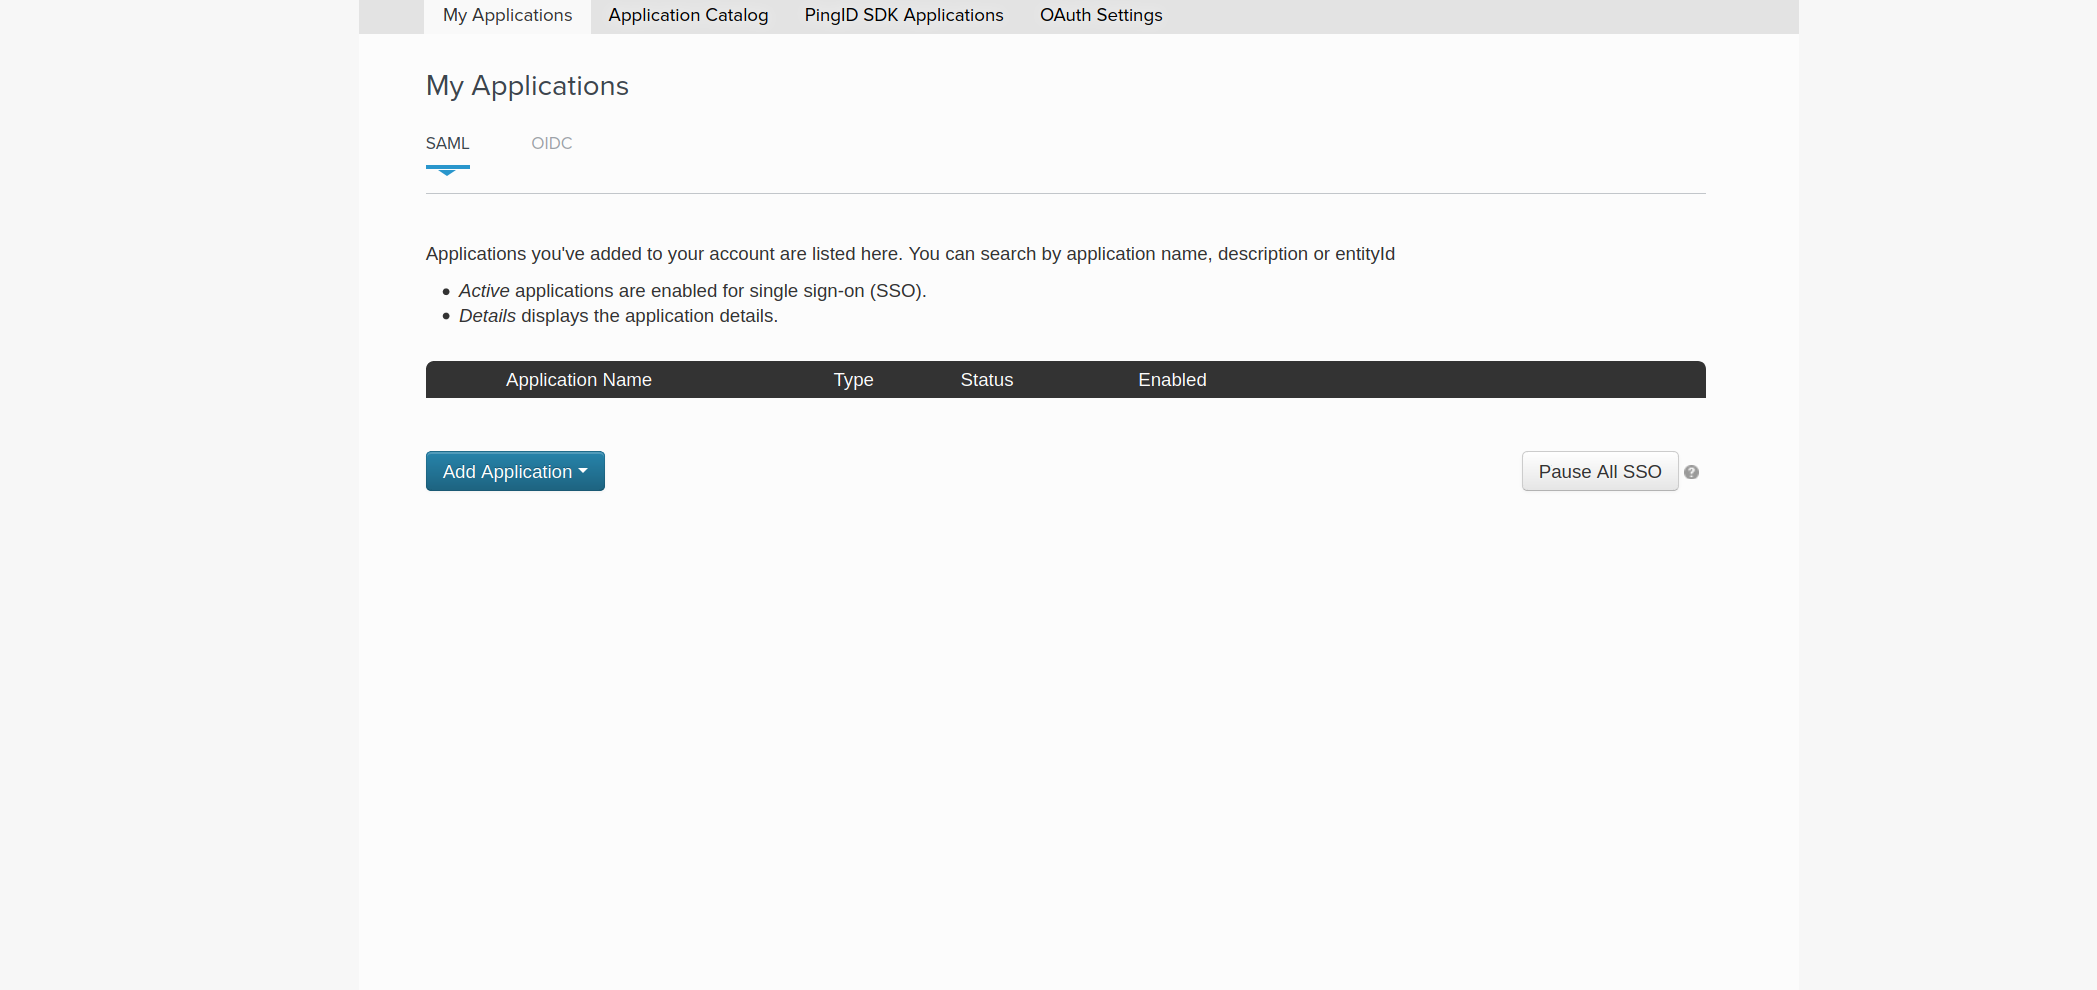
- Select New SAML Application

- Fill Application Name, Description, then select Continue to Next Step

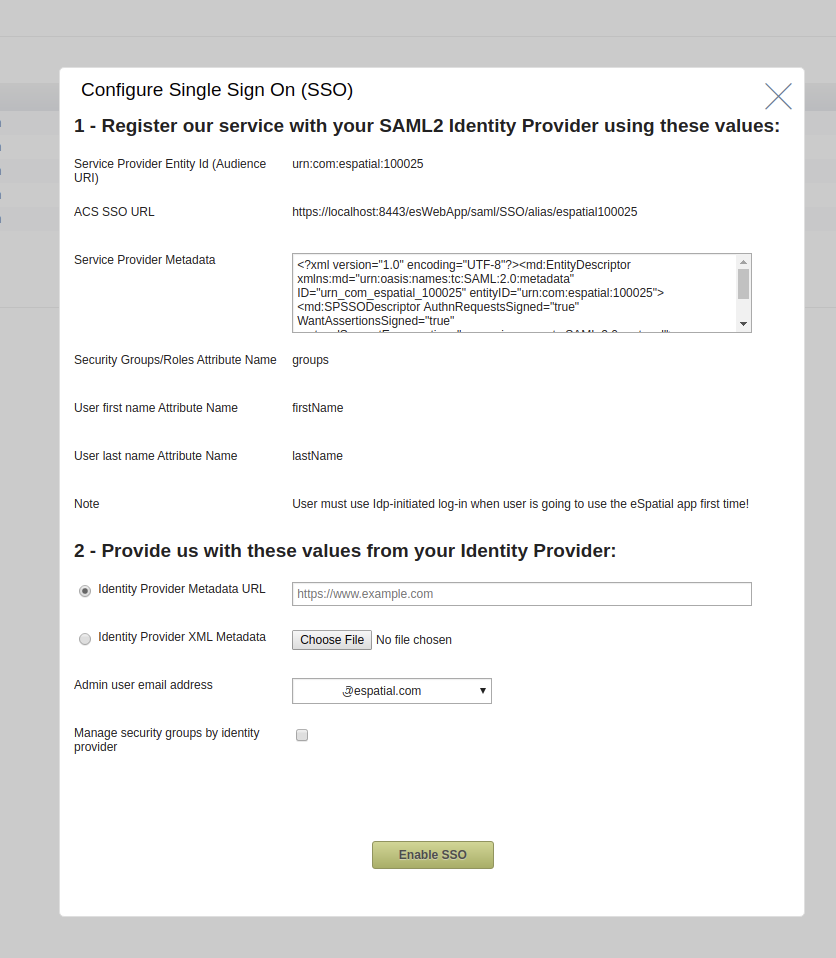
- Login to eSpatial, click on your name in the top right corner of eSpatial and select "Manage Groups and Users". Click on the SSO Configuration link. Copy content of Service Provider Metadata to an XML file
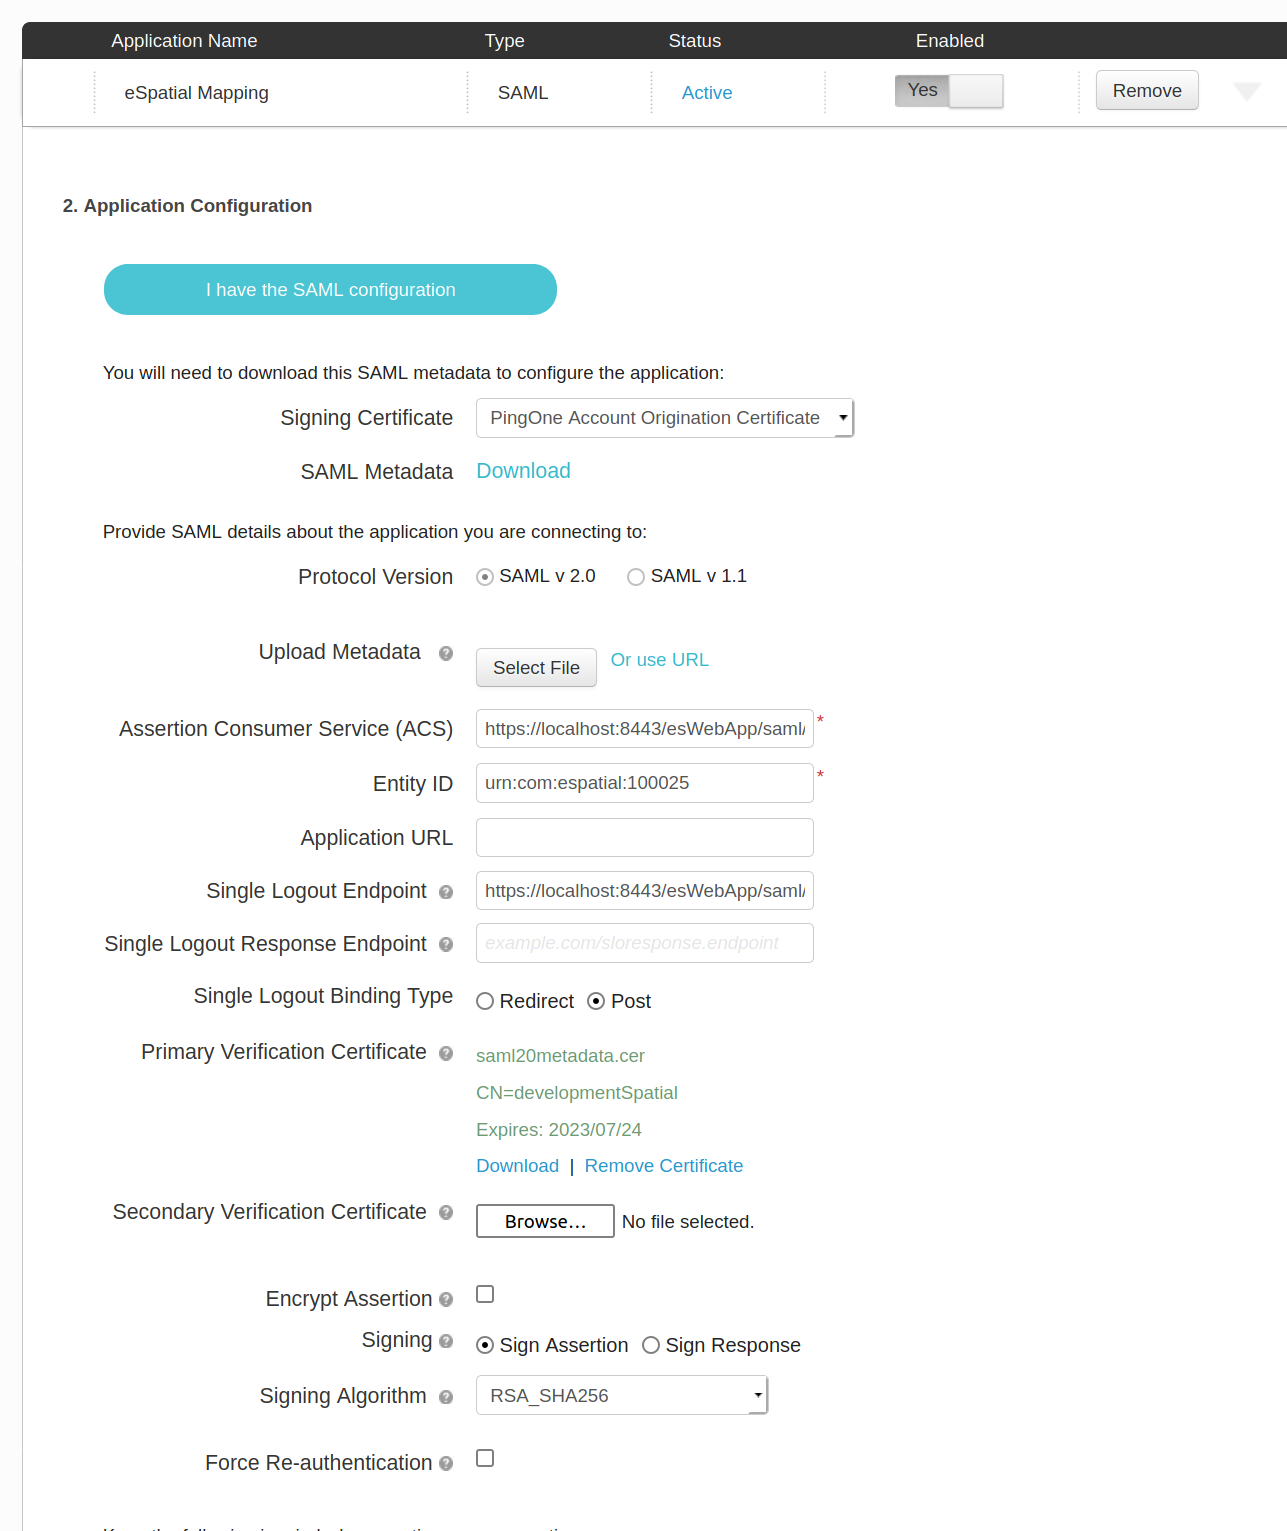
- In Ping Identity, to download Identity provider metadata, select the "Download" link next to SAML Metadata and save Identity Provider Metadata to xml file.
This will be needed later to enable SSO in eSpatial. Select button "Select File" next to "Upload Metadata" and upload the eSpatial service provider xml metadata file created in previous step #6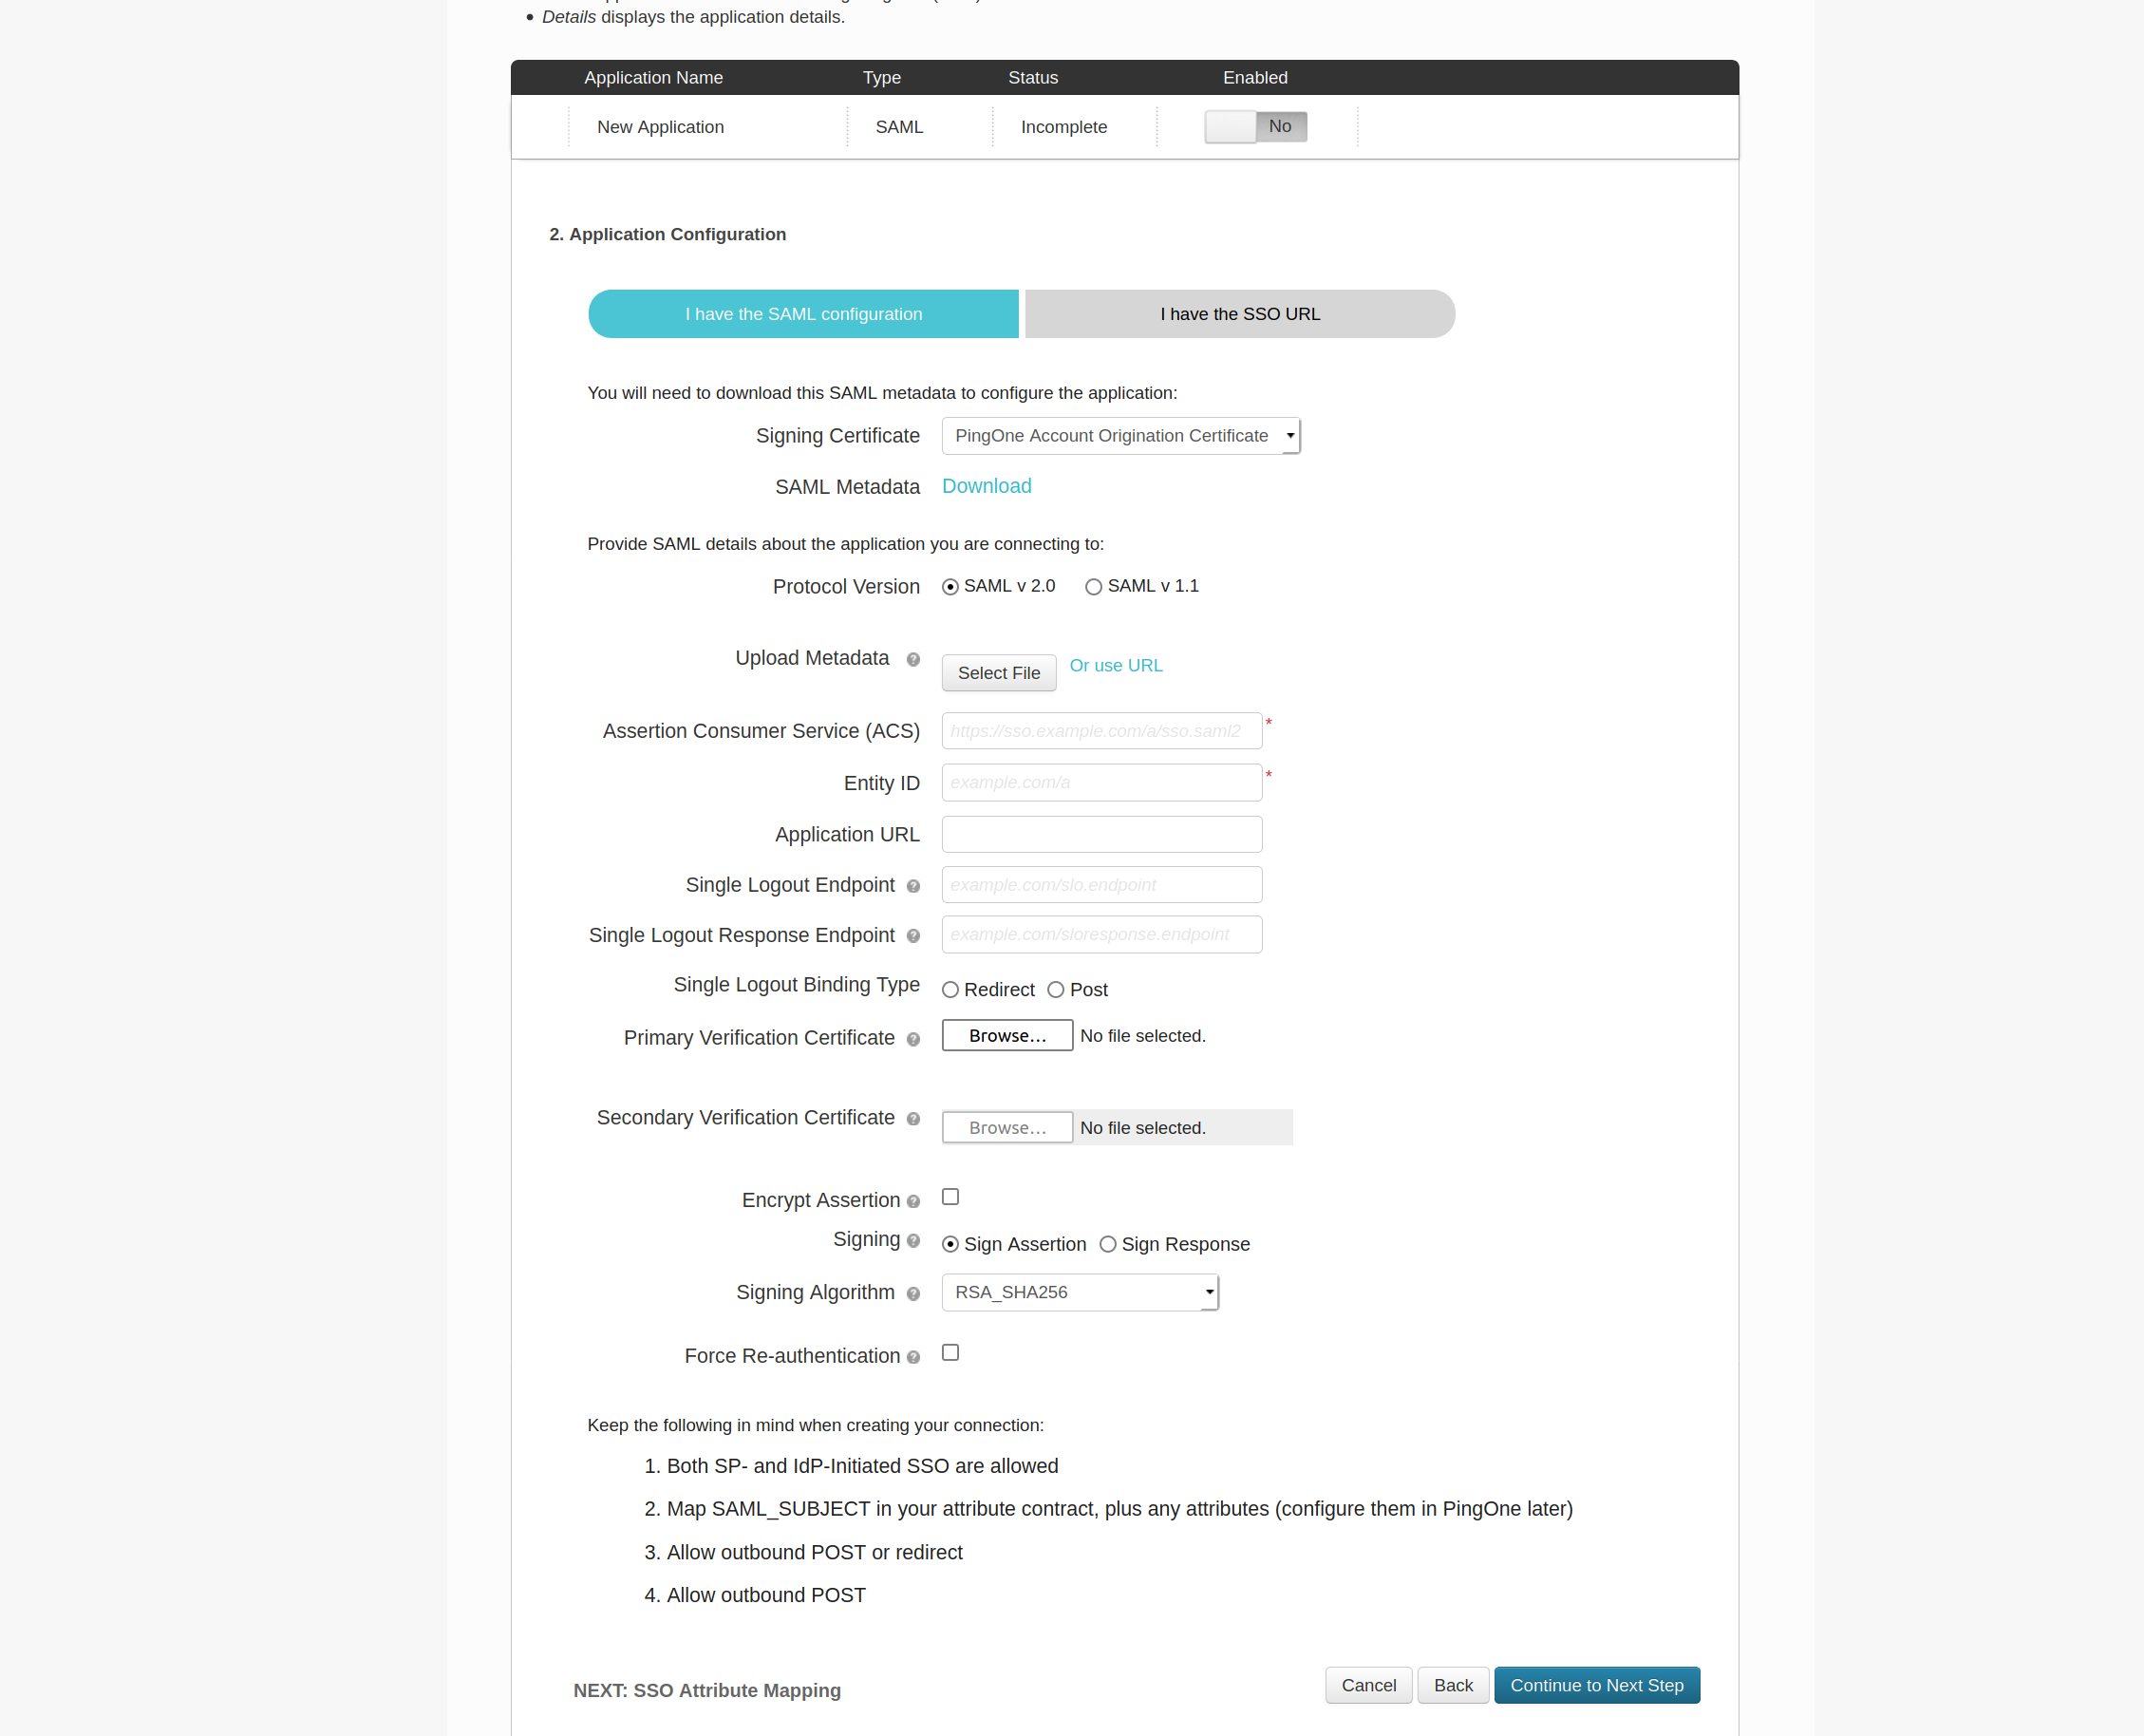
- Remove checkbox next to Encrypt Assertion and ensure Sign Assertion is selected
- Continue to Next step
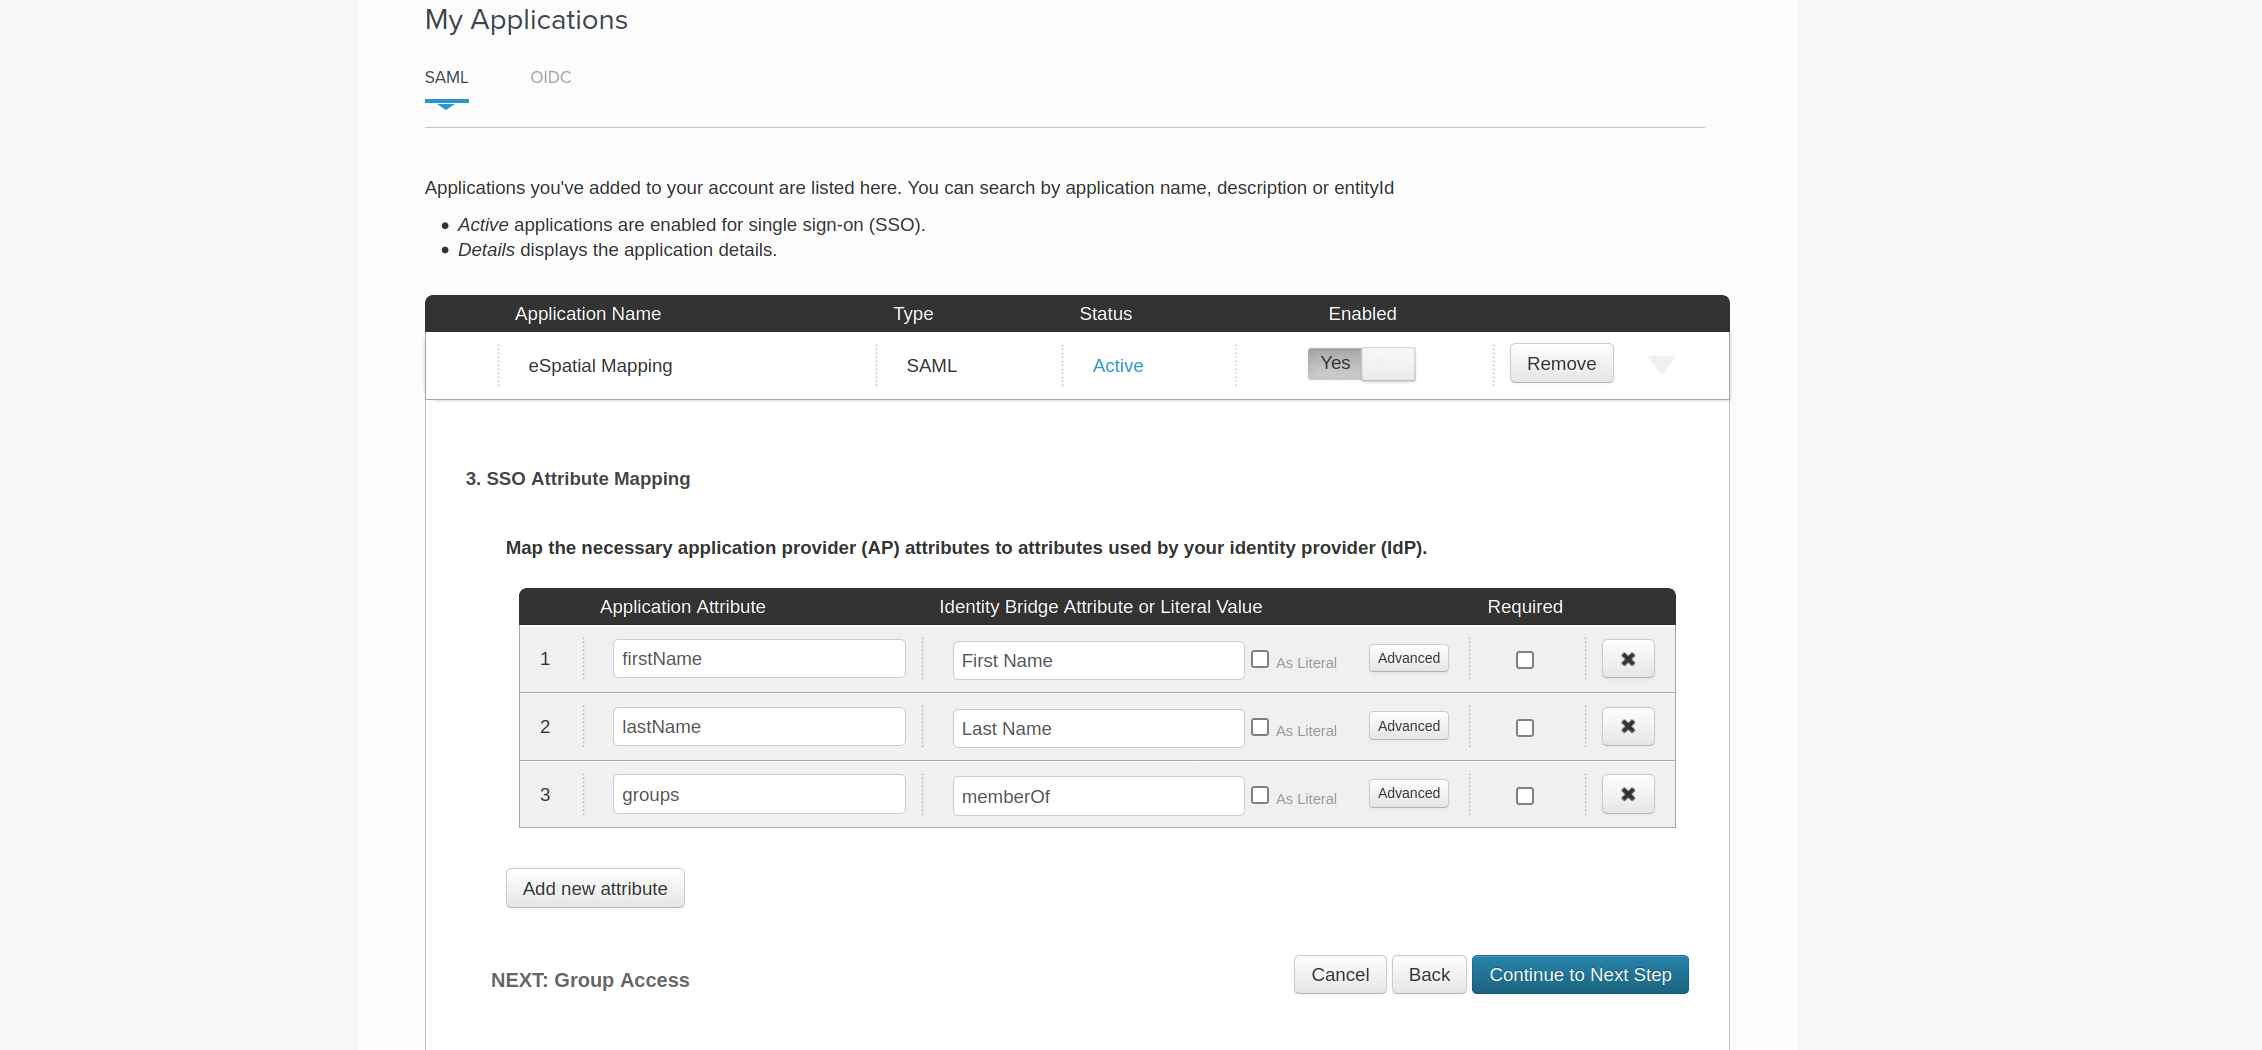
- Complete the attributes mapping and select "Continue to Next Step"
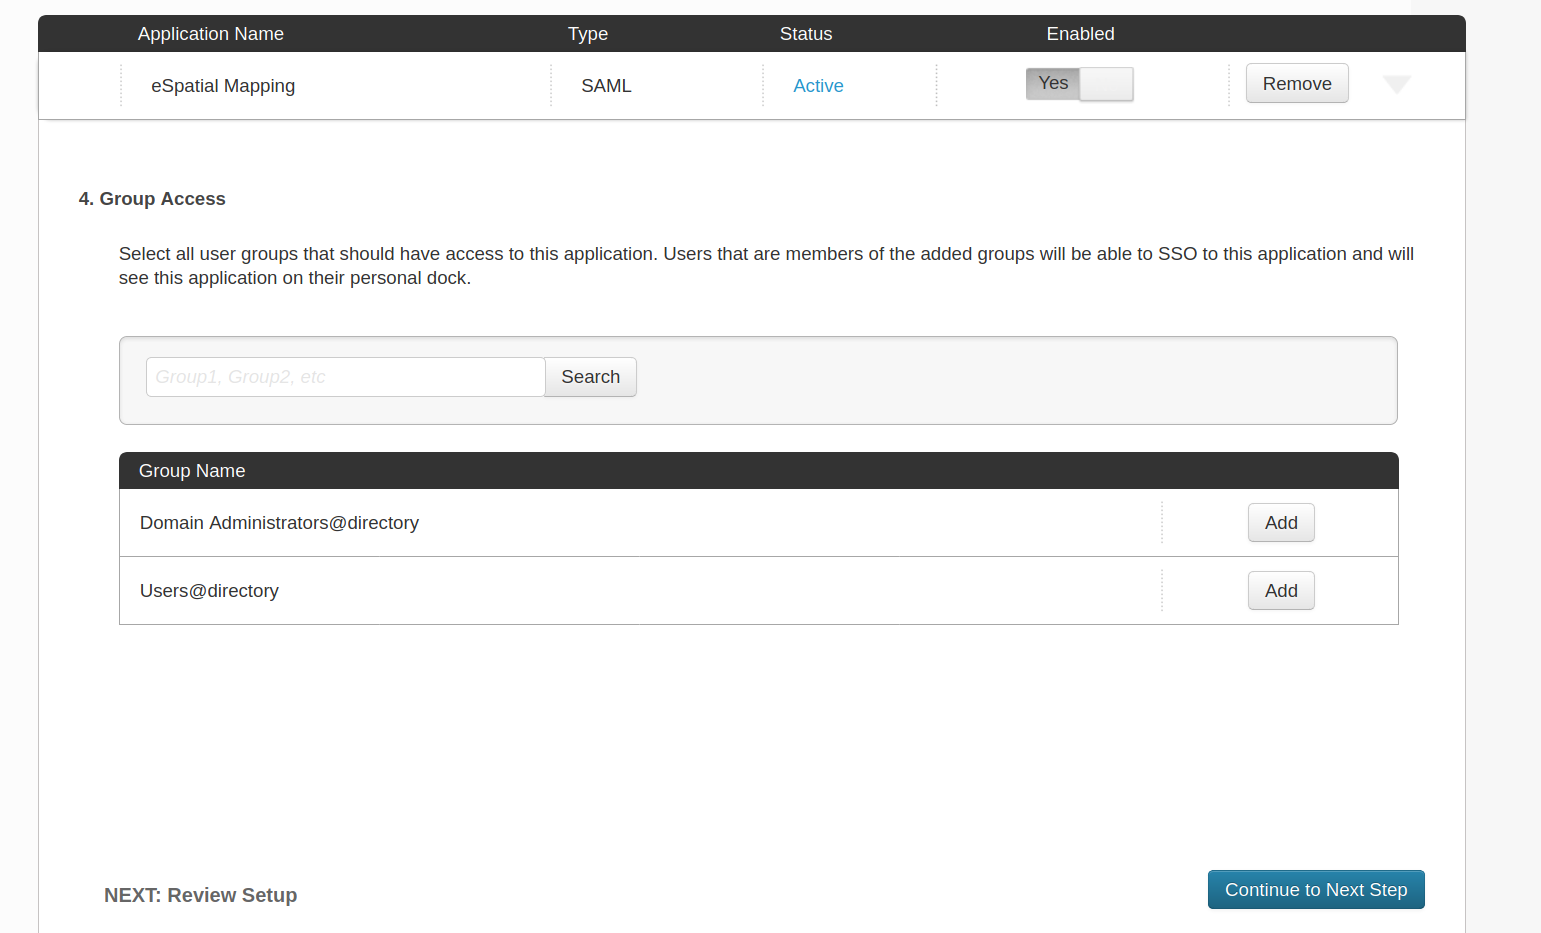
- No action is required on this screen, simply clicm on "Continue to Next Step"
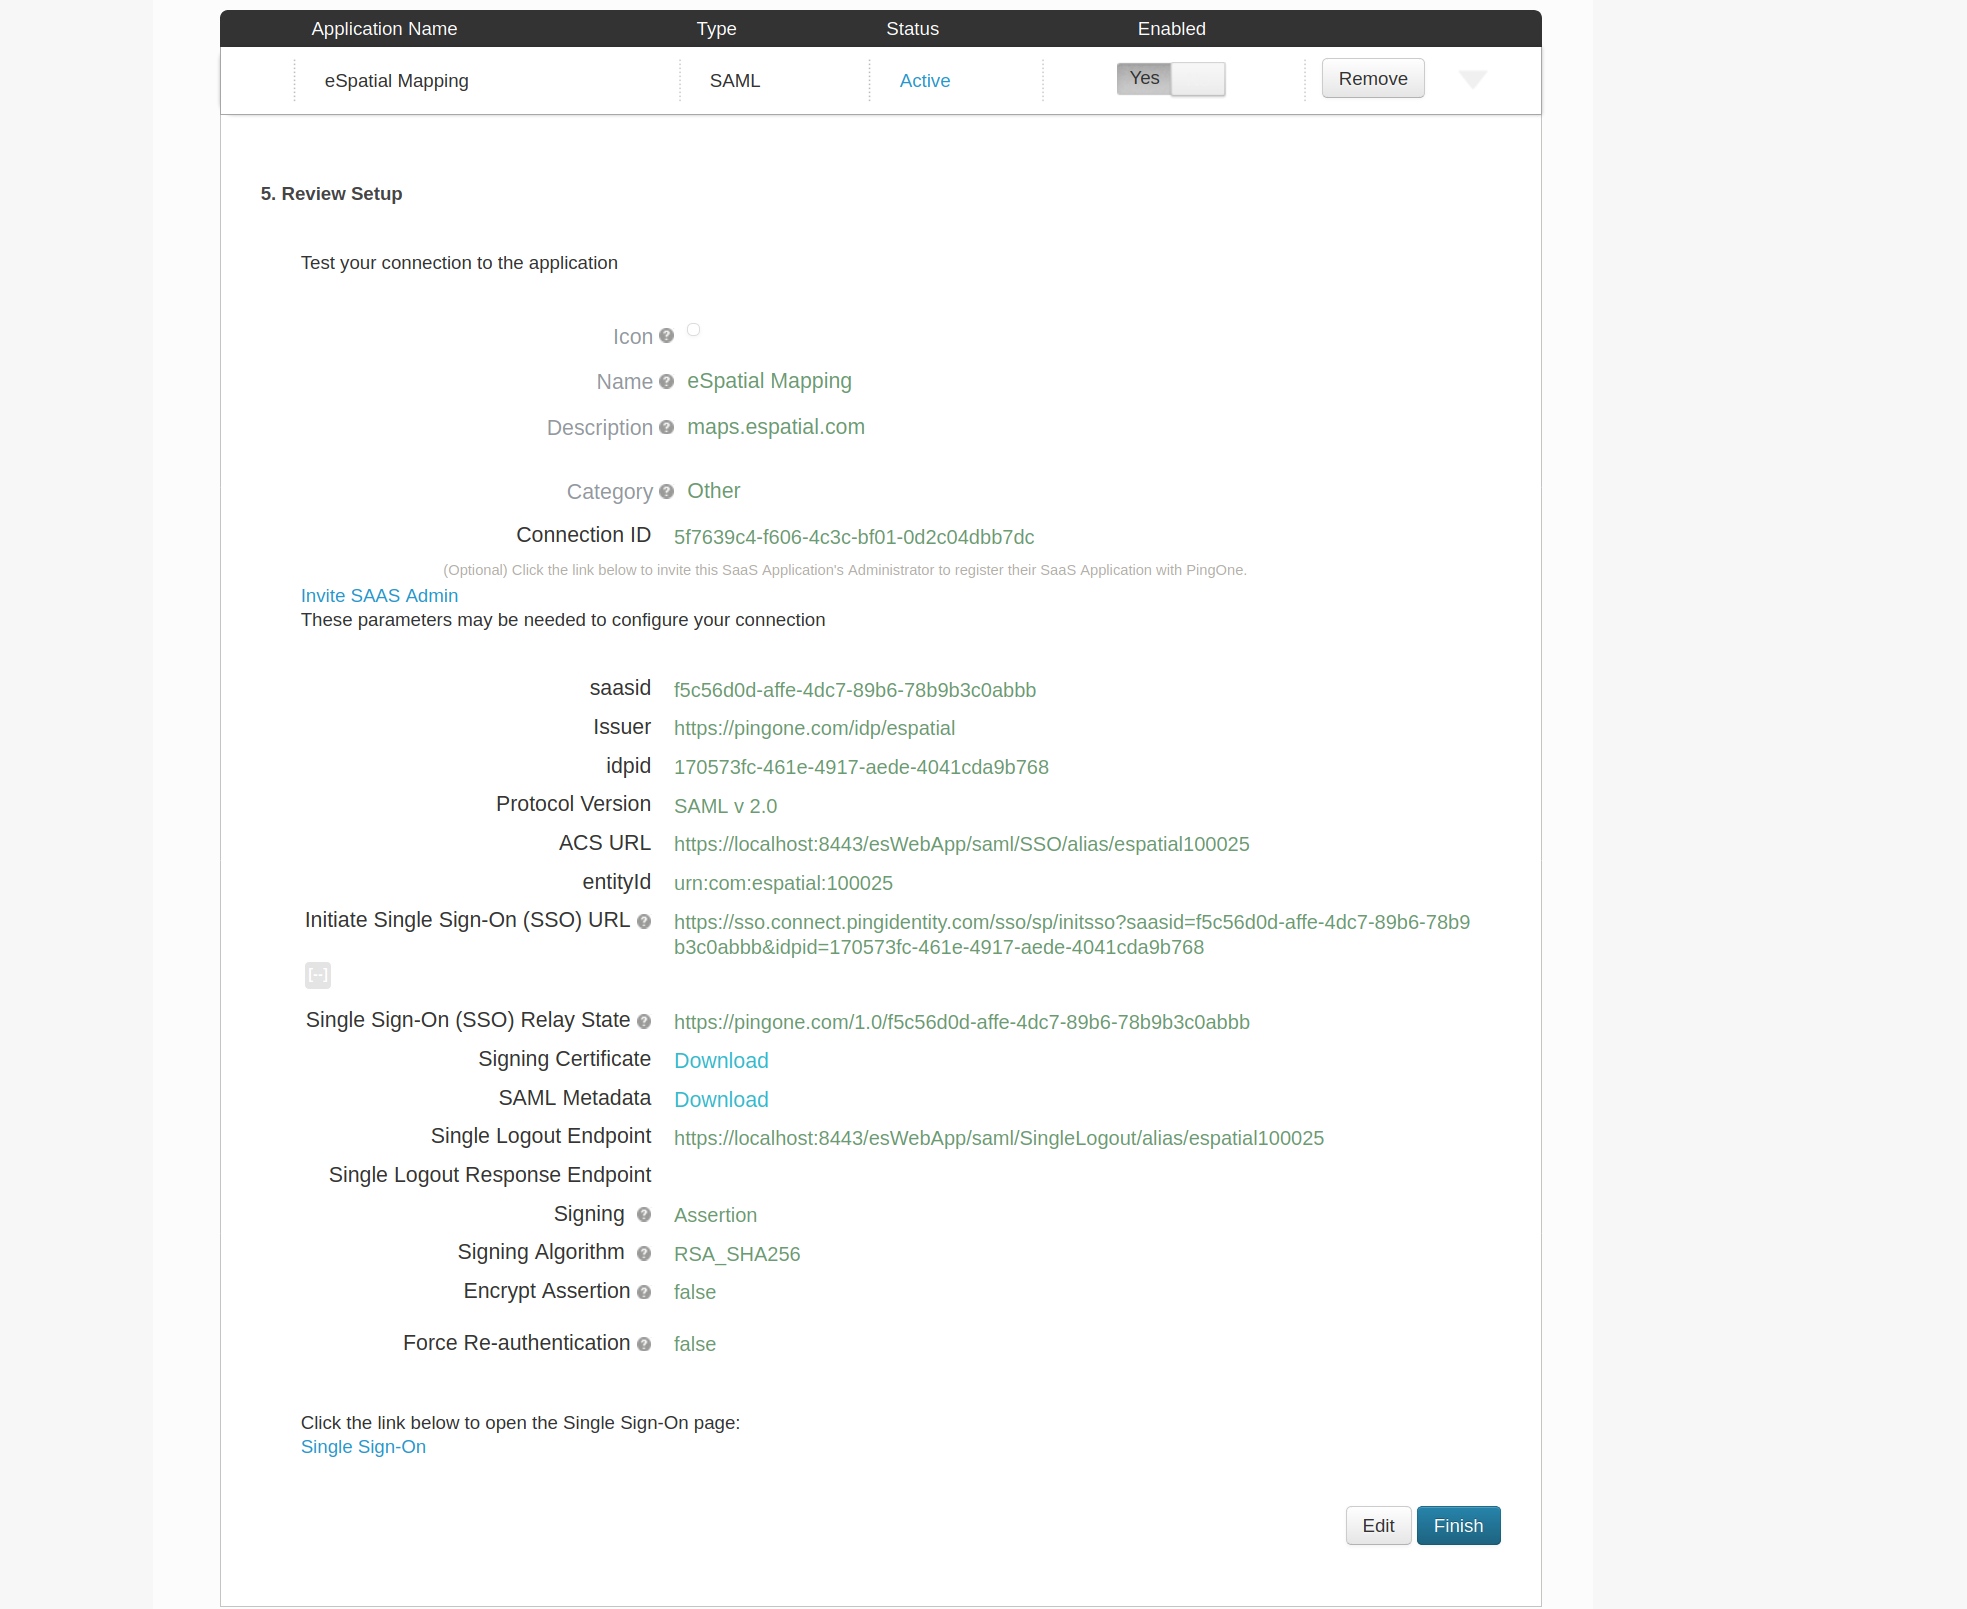
- Review the overview of settings. Select "Finish" if all appears correct.
- Return to eSpatial to enable SSO. Use Identity Provider xml file (Ping Identity metadata). Select Choose File next to Identity Provider XML Metadata select admin user email address and leave Manage security groups by identity provider unchecked.
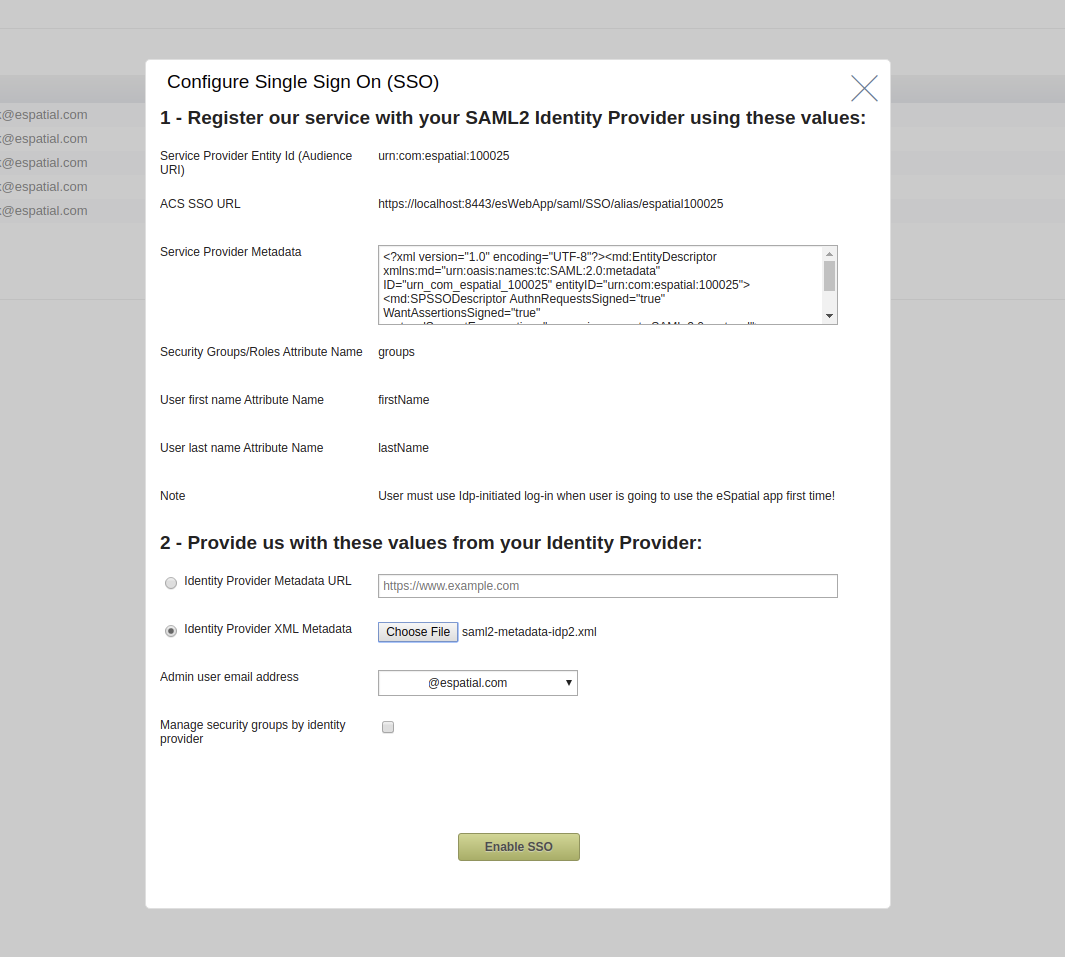
- Then select Enable SSO
- 15. Your eSpatial account should now be linked to your Ping Identity account. To access eSpatial you will now require Ping Identity authentication.