A single account may be locked/unlocked using the info pop-up on the map.
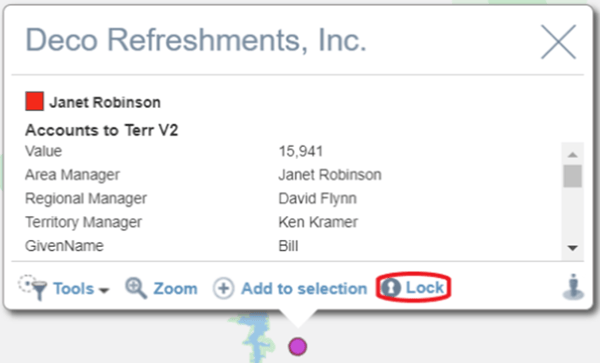
- To Lock a single account, click on the relevant account on the map. The Lock option will appear in the pop-up on the map.
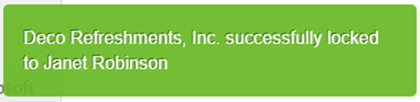
- Once the Lock option had been selected, a confirmation message confirming that the account has been locked to the territory will appear at the bottom of the screen.
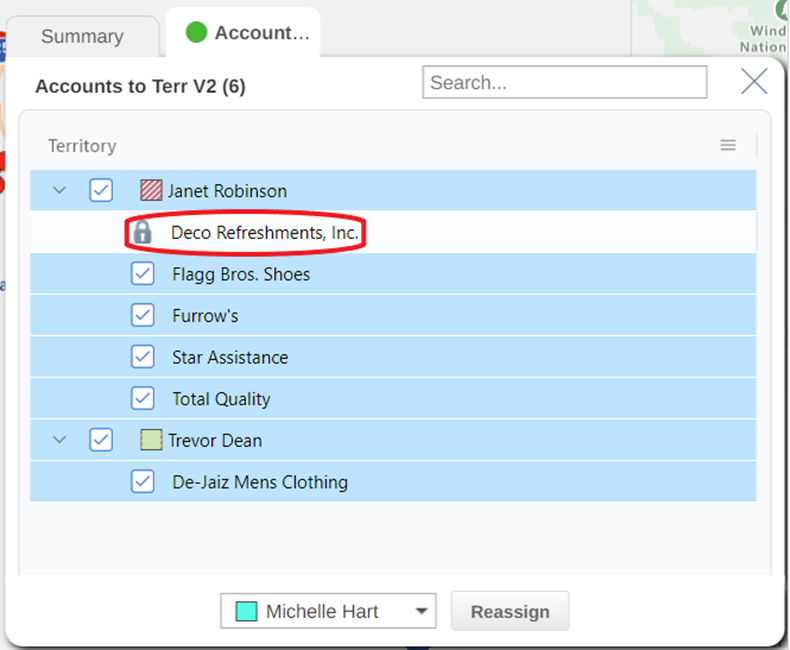
Note: If the account is added to selection for reassignment, the Lock icon rather than a checkbox will be present in the selection pop-up. Although the selection pop-up will list locked accounts, it will NOT lead to a change in assignment.
Multiple accounts may be locked/unlocked using a bulk action in the territory table.
- Go to the territory table from the areas panel.
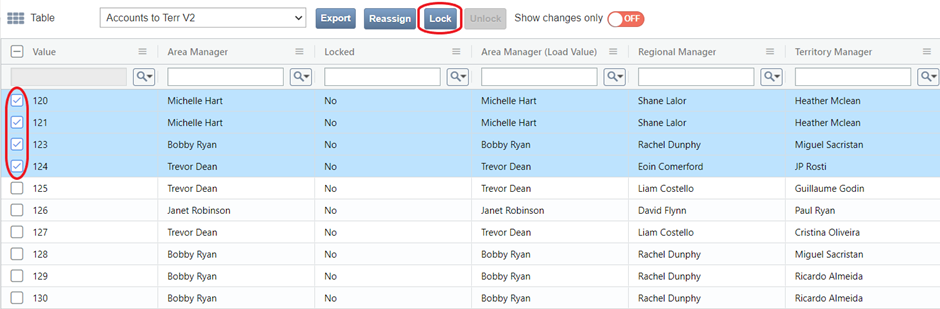
- Once in the table view, ensure that your points dataset is selected from the dropdown. Search for the points you want to lock using the search functions or from the list.
- Click the check box beside the points that you want to reassign, and the click the Lock button to lock them.
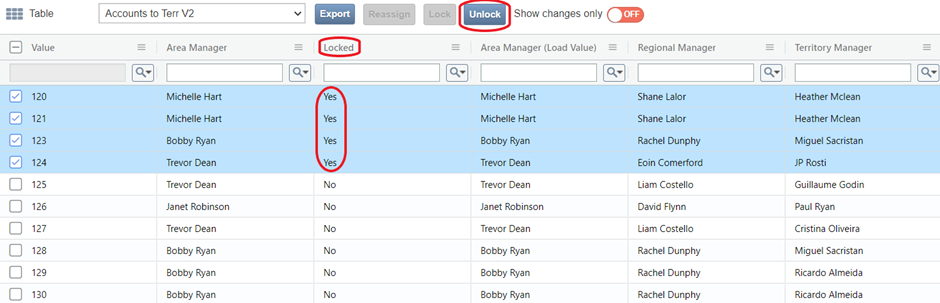
- Once locked, the display will change from No to Yes in the ‘Locked’ Column, and only the Unlock option will be available to use.
Warning: Locked accounts will be ignored for the purposes of optimization; they will not be reassigned as part of the optimization process. When reducing the number of territories, the removal of a territory that has locked accounts will not be allowed.
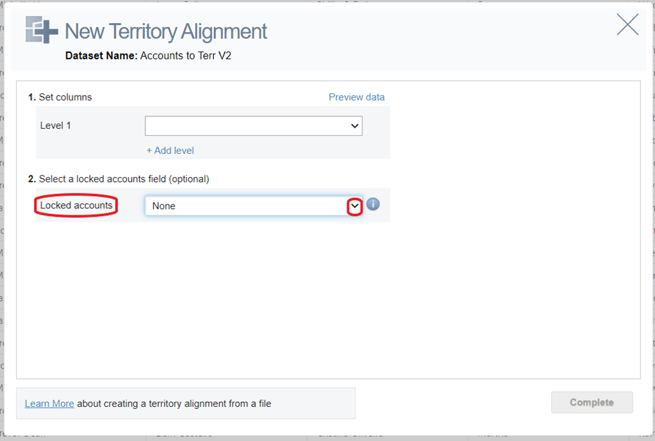
Accounts may be marked as locked using a column in the file being uploaded to create your alignment.
- In the ‘New Territory Alignment’ screen, you have the option to choose a column that contains locked accounts if your file contains one.