Import Report
How to import your first report from Salesforce.com
This functionality is now deprecated. Help on our fully integrated Salesforce solution can be found here https://help.espatial.com/for-salesforce
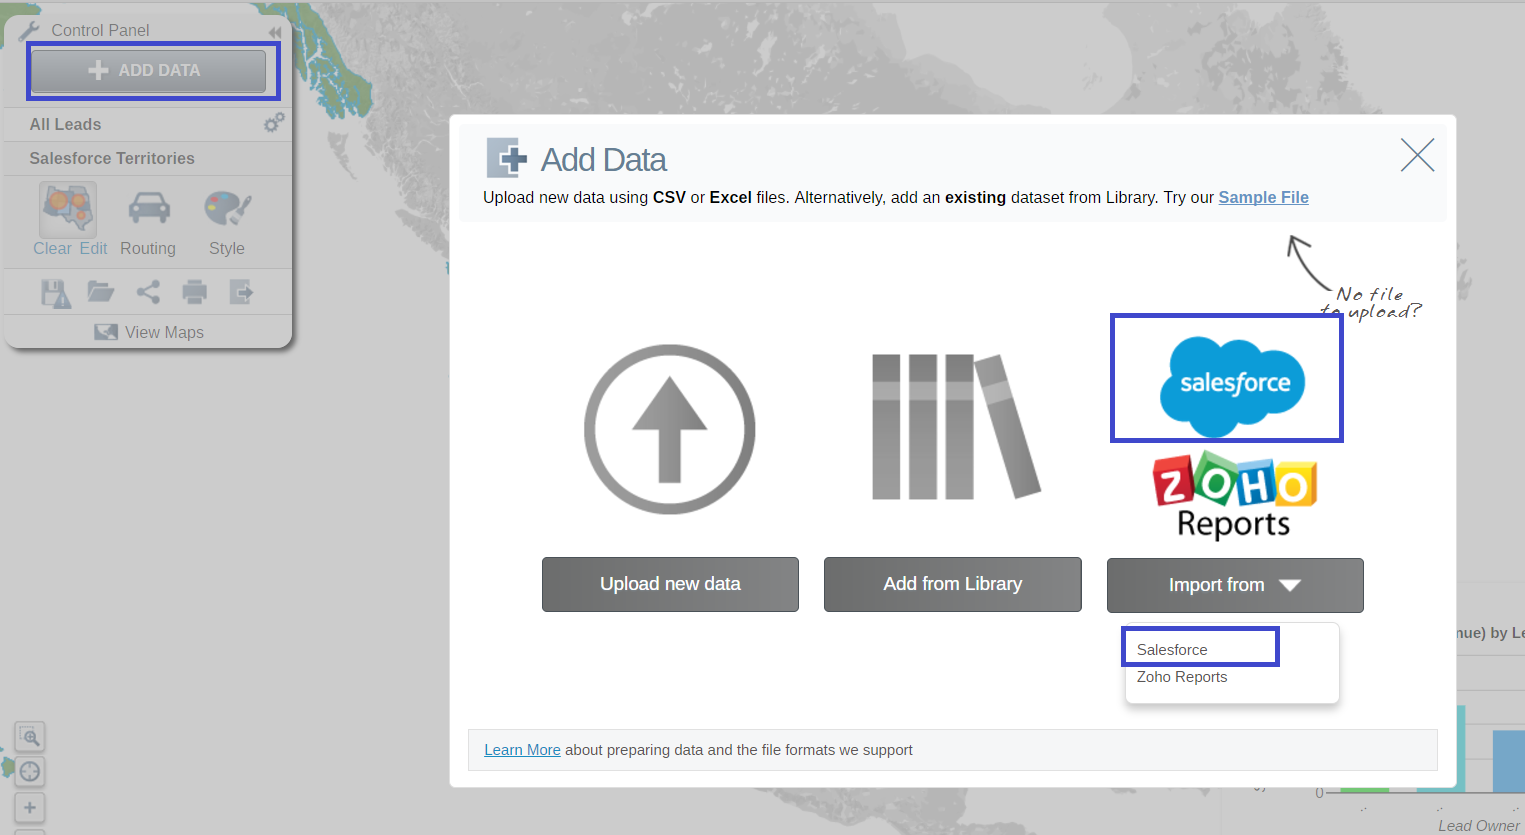
Click on Add Data in your workspace. Click on Import from Salesforce.

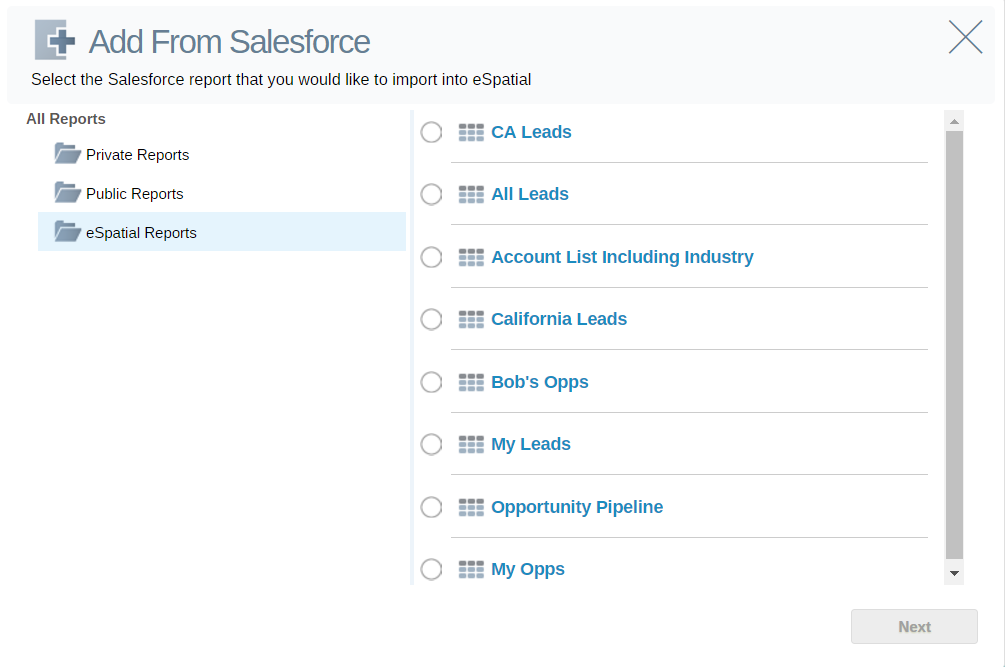
You will be presented with a folder structure of your Salesforce.com reports. Only folders that contain reports will be listed in eSpatial. Creating an eSpatial folder in Salesforce.com can be a great way to group reports you have created to be imported into eSpatial.

Set Synchronization
By default, your report will be imported just once. After selecting which report you wish to import, you will be given the opportunity to set this account up to be synchronized on a daily or weekly basis. Simply:
- Click on the Keep this Salesforce report synced
- Select either Daily or Weekly from the drop down
The schedule time is based on the time of initial setup.
Upload Data Settings
On the Upload data settings screen, you need to select the location fields as you would any other dataset you upload to eSpatial. Your salesforce report will have to include some location information so that it can be plotted on a map.
