Adding Areas to Territories
There are three ways to add regions to your territory.
1. The Plus Icons
- Hover over the area you wish to add and select the plus icon, when the selection panel appears select the territory you wish to add the area to and select reassign.
- You can select the + icon on multiple areas before selecting your desired territory to add them to.

2. Selection Tool
- Click on the Selection Tool button.
- There are two ways to draw your area.
- Left click on the map to start drawing your area , and continue until your area is complete
- Left click and hold to freehand draw your area
- When the area is drawn, select the check icon to assign these areas to your territory (you can also double click to confirm the area). The x will cancel the area drawn.
- When the selection panel appears, select the territory you wish to add the area to and select reassign.
- To add additional fields to the selection panel, click on the hamburger icon beside the field name in the selection window and check on the fields you wish to display. Fields used in balancing can be added to the Summary and Region Tab. All data fields are available to be added to the points dataset tabs.

Reassigning Accounts/Create Exceptions:
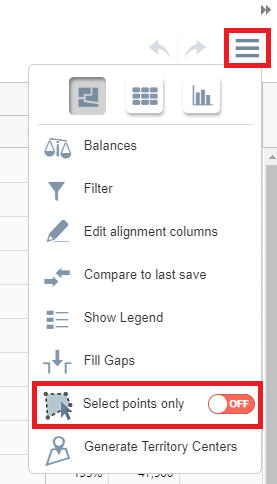
- If you wish to reassign accounts only within a territory you can do so by going to your hamburger icon and ensuring Select Points only is enabled.
- To reassign an account or number of accounts use the select areas tool to highlight the accounts. In the selection panel you will see that you have selected accounts that are already assigned if you are happy to go forward with this change simply select which territory you wish to reassign them to and select reassign.
- If you do not want to reassign an account, uncheck the box beside the account and then select reassign to assign all other selected accounts.
- To unassign an account, there are two options,
-
- To unassign a single account click on the relevant pin and then click on add to selection.
- To highlight multiple accounts, use the selection tool to highlight the accounts.
- Then in the selection panel scroll down and select Unassigned option in the territory dropdown and then select Unassign.
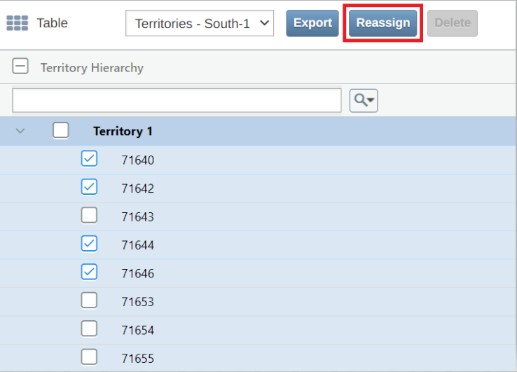
3. The Table:
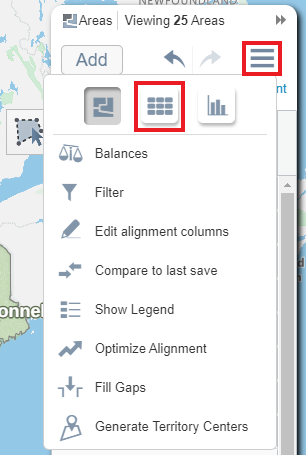
- Users can also use the territory manager table to assign and reassign boundaries (zips, counties, states etc.) and points/accounts. To do this, Open the table by going to the hamburger icon and selecting the table icon.
- To move boundaries to a territory, select the checkbox beside any boundaries you wish to move, select Reassign, and then choose the territory you wish to move it to.
- To unassign areas from a territory select the checkbox beside any boundaries you wish to unassign, select Reassign, and then select Unassigned.
- To move accounts to another territory, select the checkbox beside any accounts you wish to move, select Add Exception, and then choose the territory you wish to move it to.
