Editing Filters
How to edit filters applied to a dataset
Auto Zoom
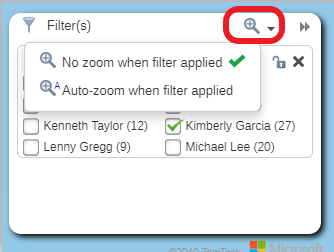
When you apply a filter you can choose a specific Zoom setting. Click on the Filter Zoom icon in the top of the Filter window.
- No Zoom when filter applied – this is the default setting. This means that when you apply a filter the map will not Zoom to the filtered data.
- Auto Zoom when filter applied. This means that when you apply a filter the map will auto zoom to that data. Once you remove the filter the Map will auto zoom back to the full extents of the data.

Filter Lock
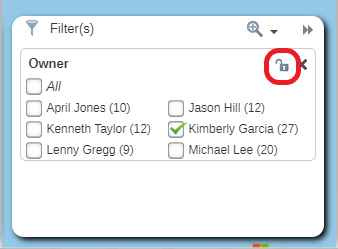
You can apply a lock to a filter this can be used to ensure the filter remains active when doing an analysis or sharing a map.
- When you share a map with a locked filter the filter will not be visible on the shared map and the user will not be able to remove it. This allows you to share subsets of data with members of your team.
- Only the person who applies a filter lock will know it is there and only they can remove it.

