To create your alignment:
- Click the + Build Territories button in the top toolbar.
- From the pop up, click the Geography based option.

- Then, select the Create Areas Manually option.

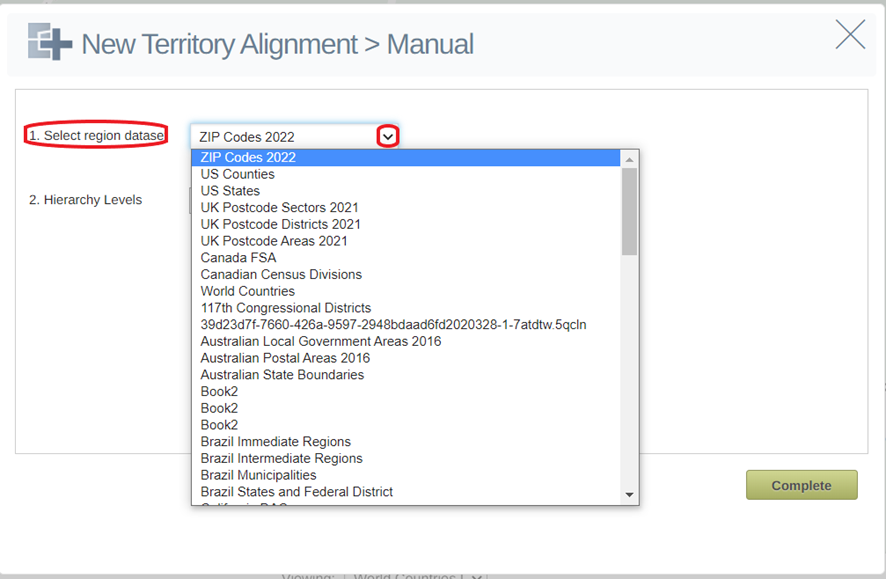
- Select the Region dataset you wish to use from the drop down (e.g. US states, counties, Zip Code). If the dataset you wish to use is not in the list, scroll to the bottom of the list and click the + Add dataset button to locate it in the eSpatial datastore.
If creating hierarchical territory alignments, choose the number of hierarchy levels you wish to add using the drop down in Step 2 Hierarchy Levels.
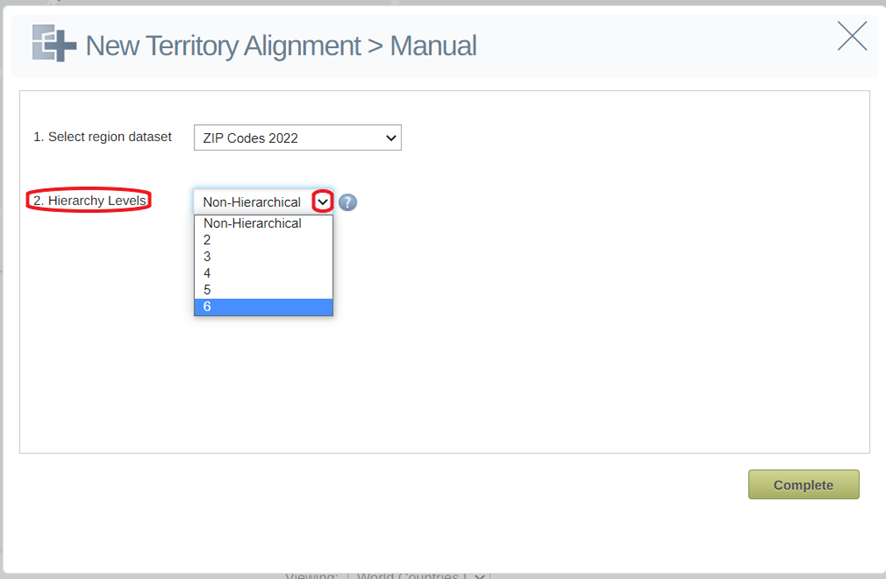
5. Select Complete.
Once your alignment has been built, you can:
- Change the name of a territory by clicking it in the Areas Panel.
- Select Add Area to add another area to your map.

Adding Areas to Territories
There are three ways to add boundaries to your territory.
1. The Plus Icons
- Hover over the boundary you wish to add and select the plus icon, when the selection panel appears select the territory you wish to add the boundary to and select reassign.
- You can select the + icon on multiple boundaries before selecting your desired territory to add them to.

2. Selection Tool
- Click on the Selection tool button.
- Then left click on the map to start drawing your area . You can click the map to create a shape, or freehand draw it.
- Select the check icon to assign these areas to your territory (you can also double click to confirm the area). The x will cancel the area drawn.
- When the selection panel appears, select the territory you wish to add the boundaries to and select reassign.

- To add additional fields to the selection panel, click on the hamburger icon beside the field name in the selection window and check on the fields you wish to display. Fields used in balancing can be added to the Summary and Region Tab. All data fields are available to be added to the points dataset tabs.

- To unassign an area, use the + icons or the selection tool to highlight the area. Then in the selection panel scroll down and select the Unassigned option in the territory dropdown and then select Unassign.
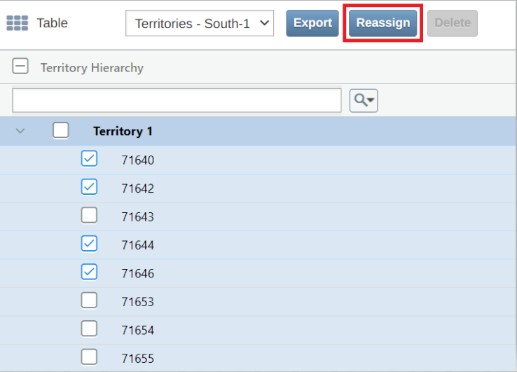
3. The Table:
- Users can also use the territory manager table to assign and reassign boundaries. To do this, Open the table by going to the hamburger icon and selecting the table icon.

- To move boundaries to a territory, select the checkbox beside any boundaries you wish to move, select Reassign, and then choose the territory you wish to move it to.
- To unassign areas from a territory select the checkbox beside any boundaries you wish to unassign, select Reassign, and then select Unassigned.