Geography Based Territories - Create from Uploaded File
Creating a Territory alignment from an uploaded Excel/CSV file
NOTE: You can also overlay your point/account-based alignment on top of this alignment.
- Click on the + Build Territories button in the Top Toolbar.
- From the pop up, click the Geography based option

- To Build an alignment based on your own data, select the Upload Territory file option.

- Choose the CSV or excel file you want to use to create your territory alignment
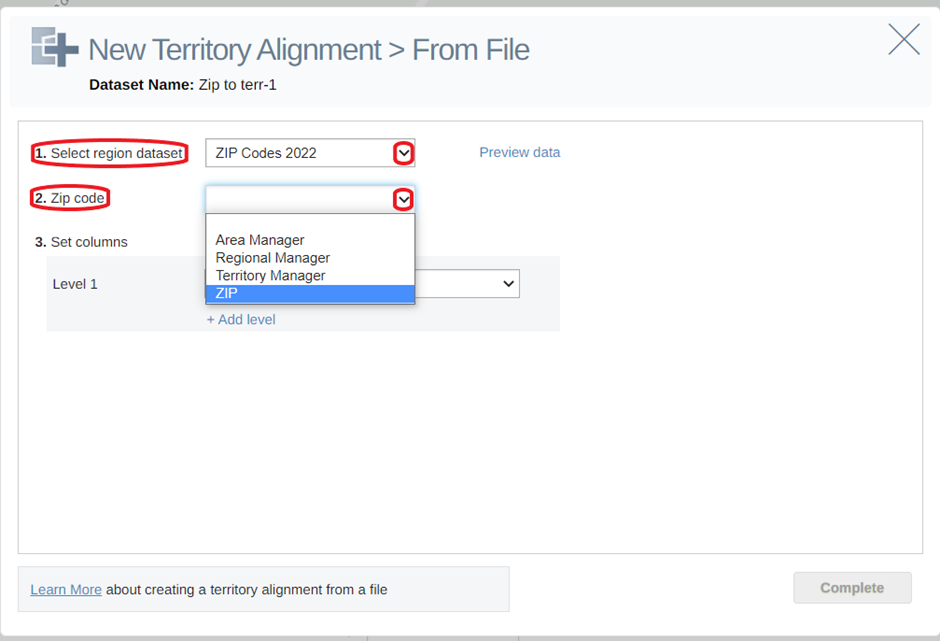
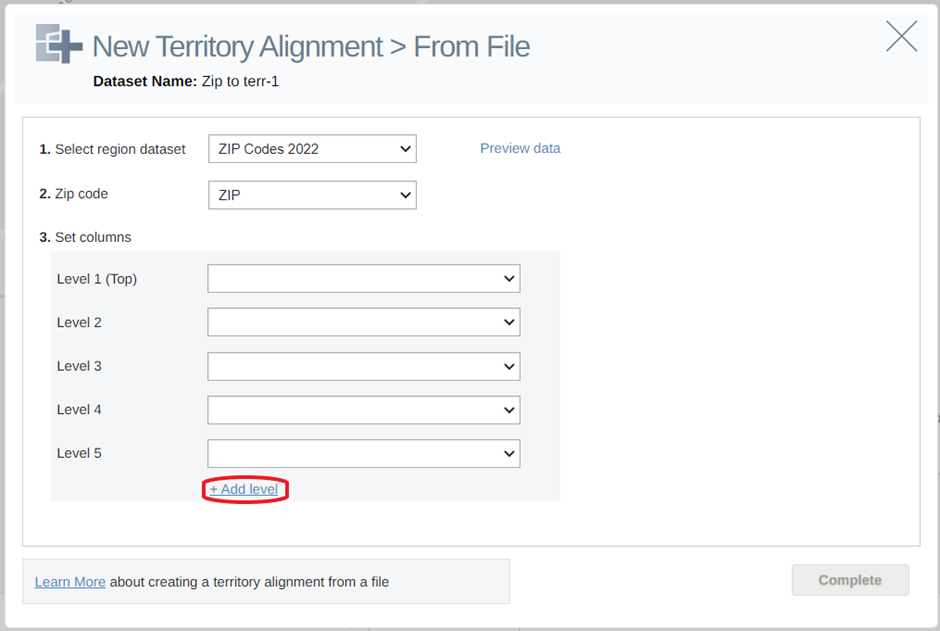
- Next you must select the regional dataset that your territory alignment will be based on using the dropdown in Step 1, and the corresponding column in your dataset to match the regional dataset, from the dropdown in Step 2.

If creating hierarchical territory alignments, click the + Add level button in Step 3 to add a hierarchy level. You can add up to 6 levels of Hierarchy.

Validation File
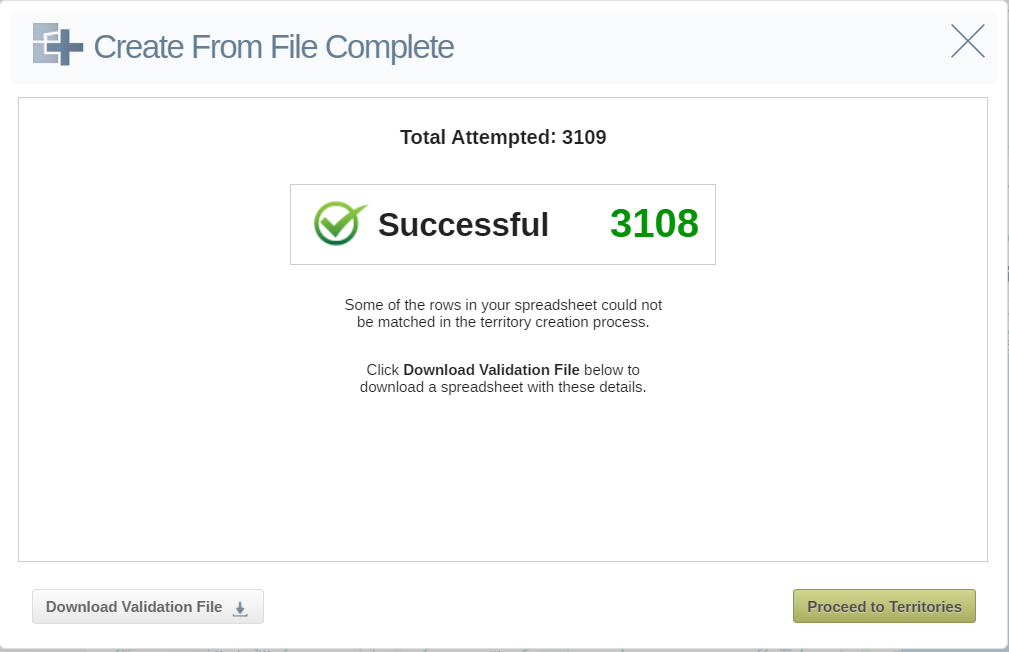
If any of the rows in your spreadsheet could not be matched in the territory creation process you will be presented with the below screen

- Download the validation file to see what these are
- Alternatively, select Proceed to Territories to import your territories regardless of these discrepancies
