View Existing Definition
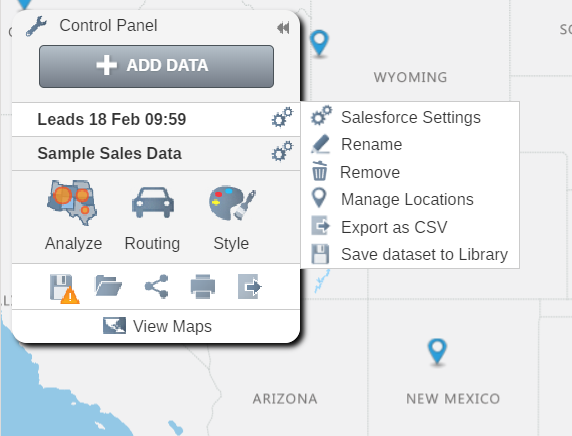
To view the details of an existing dataset, click on the cog to the right of the dataset name in the control panel and select the "SF Settings" option.
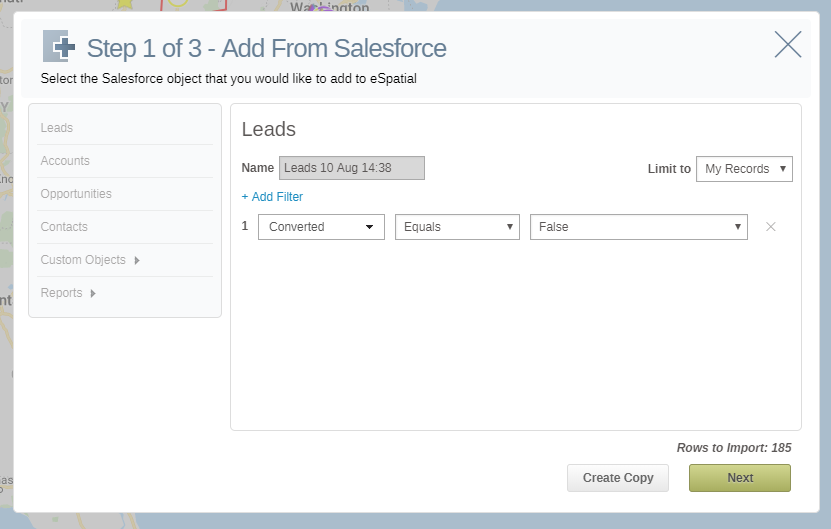
You can view the settings used to create this dataset such as the filters and joins.
Modify Existing Definition
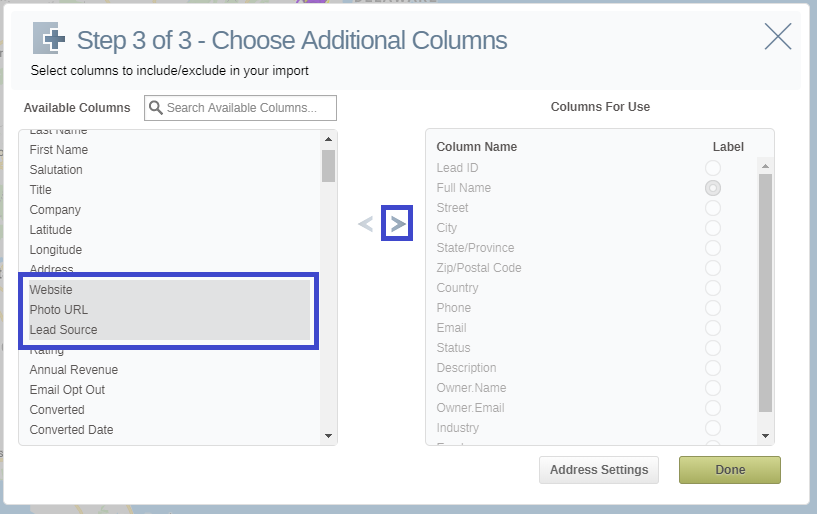
By clicking on next in the above screenshot you will see the columns that are included in your existing Salesforce dataset. You can select multiple columns to add to your existing dataset which will then be available for your map for info pop-ups, to color by value, filter and analyze.
Create a Copy from an existing dataset
A Salesforce dataset in eSpatial is like a View on Salesforce data. For example, if you have an existing dataset defined as all leads assigned to Bob with a status of Open Contacted, and you wished to create a new view on this data that also checked when the lead was last visited, you can create a copy from the existing dataset.
- Click on the cog beside the existing dataset in the control panel and click on "SF Settings".
- Click "Create Copy".
- This will keep the settings from the existing dataset definition.
- Add the additional settings and then continue to create your new dataset.
Add an Already Created Dataset to a Map
If you have already created Salesforce datasets, you can easily add these to other maps and workspaces. You do not have to define your datasets every time you create a new map/workspace.
To add an existing Salesforce Dataset
- Click on Add Data in the Control Panel
- On the "Add From Salesforce Screen", click on the object type you want to import and select "Use Existing"

- You will be given a list of the Salesforce datasets you have already created.
- Select the dataset you want to use and the select "Add To Map".